Home > News/Articles > What's a Munga?

What's a Munga?

A journey through the restoration of a 1957 Munga
Posted: March 1st, 2018 @ 3:42pm
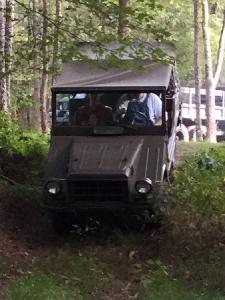
Munga on the trail |
What’s a Munga?
Authored by Rob White, February 6, 2018
That’s a question I’ve heard for nearly a year now. Wikipedia says the Munga was a DKW-branded off-road vehicle built by Auto-union in Ingolstadt, Germany. I say it’s the best mix between an M38 and an M151 with a quirky look and a surprising attitude. In this article, I’ll walk you through the history, build, and successful unveiling of my 1957 two-cycled, off-road warrior described by the Germans as the Mehrzweck UNiversal Gelandewagen mit Allredantrieb, or for you Americans “multi-purpose universal cross country car with all-wheel drive”.
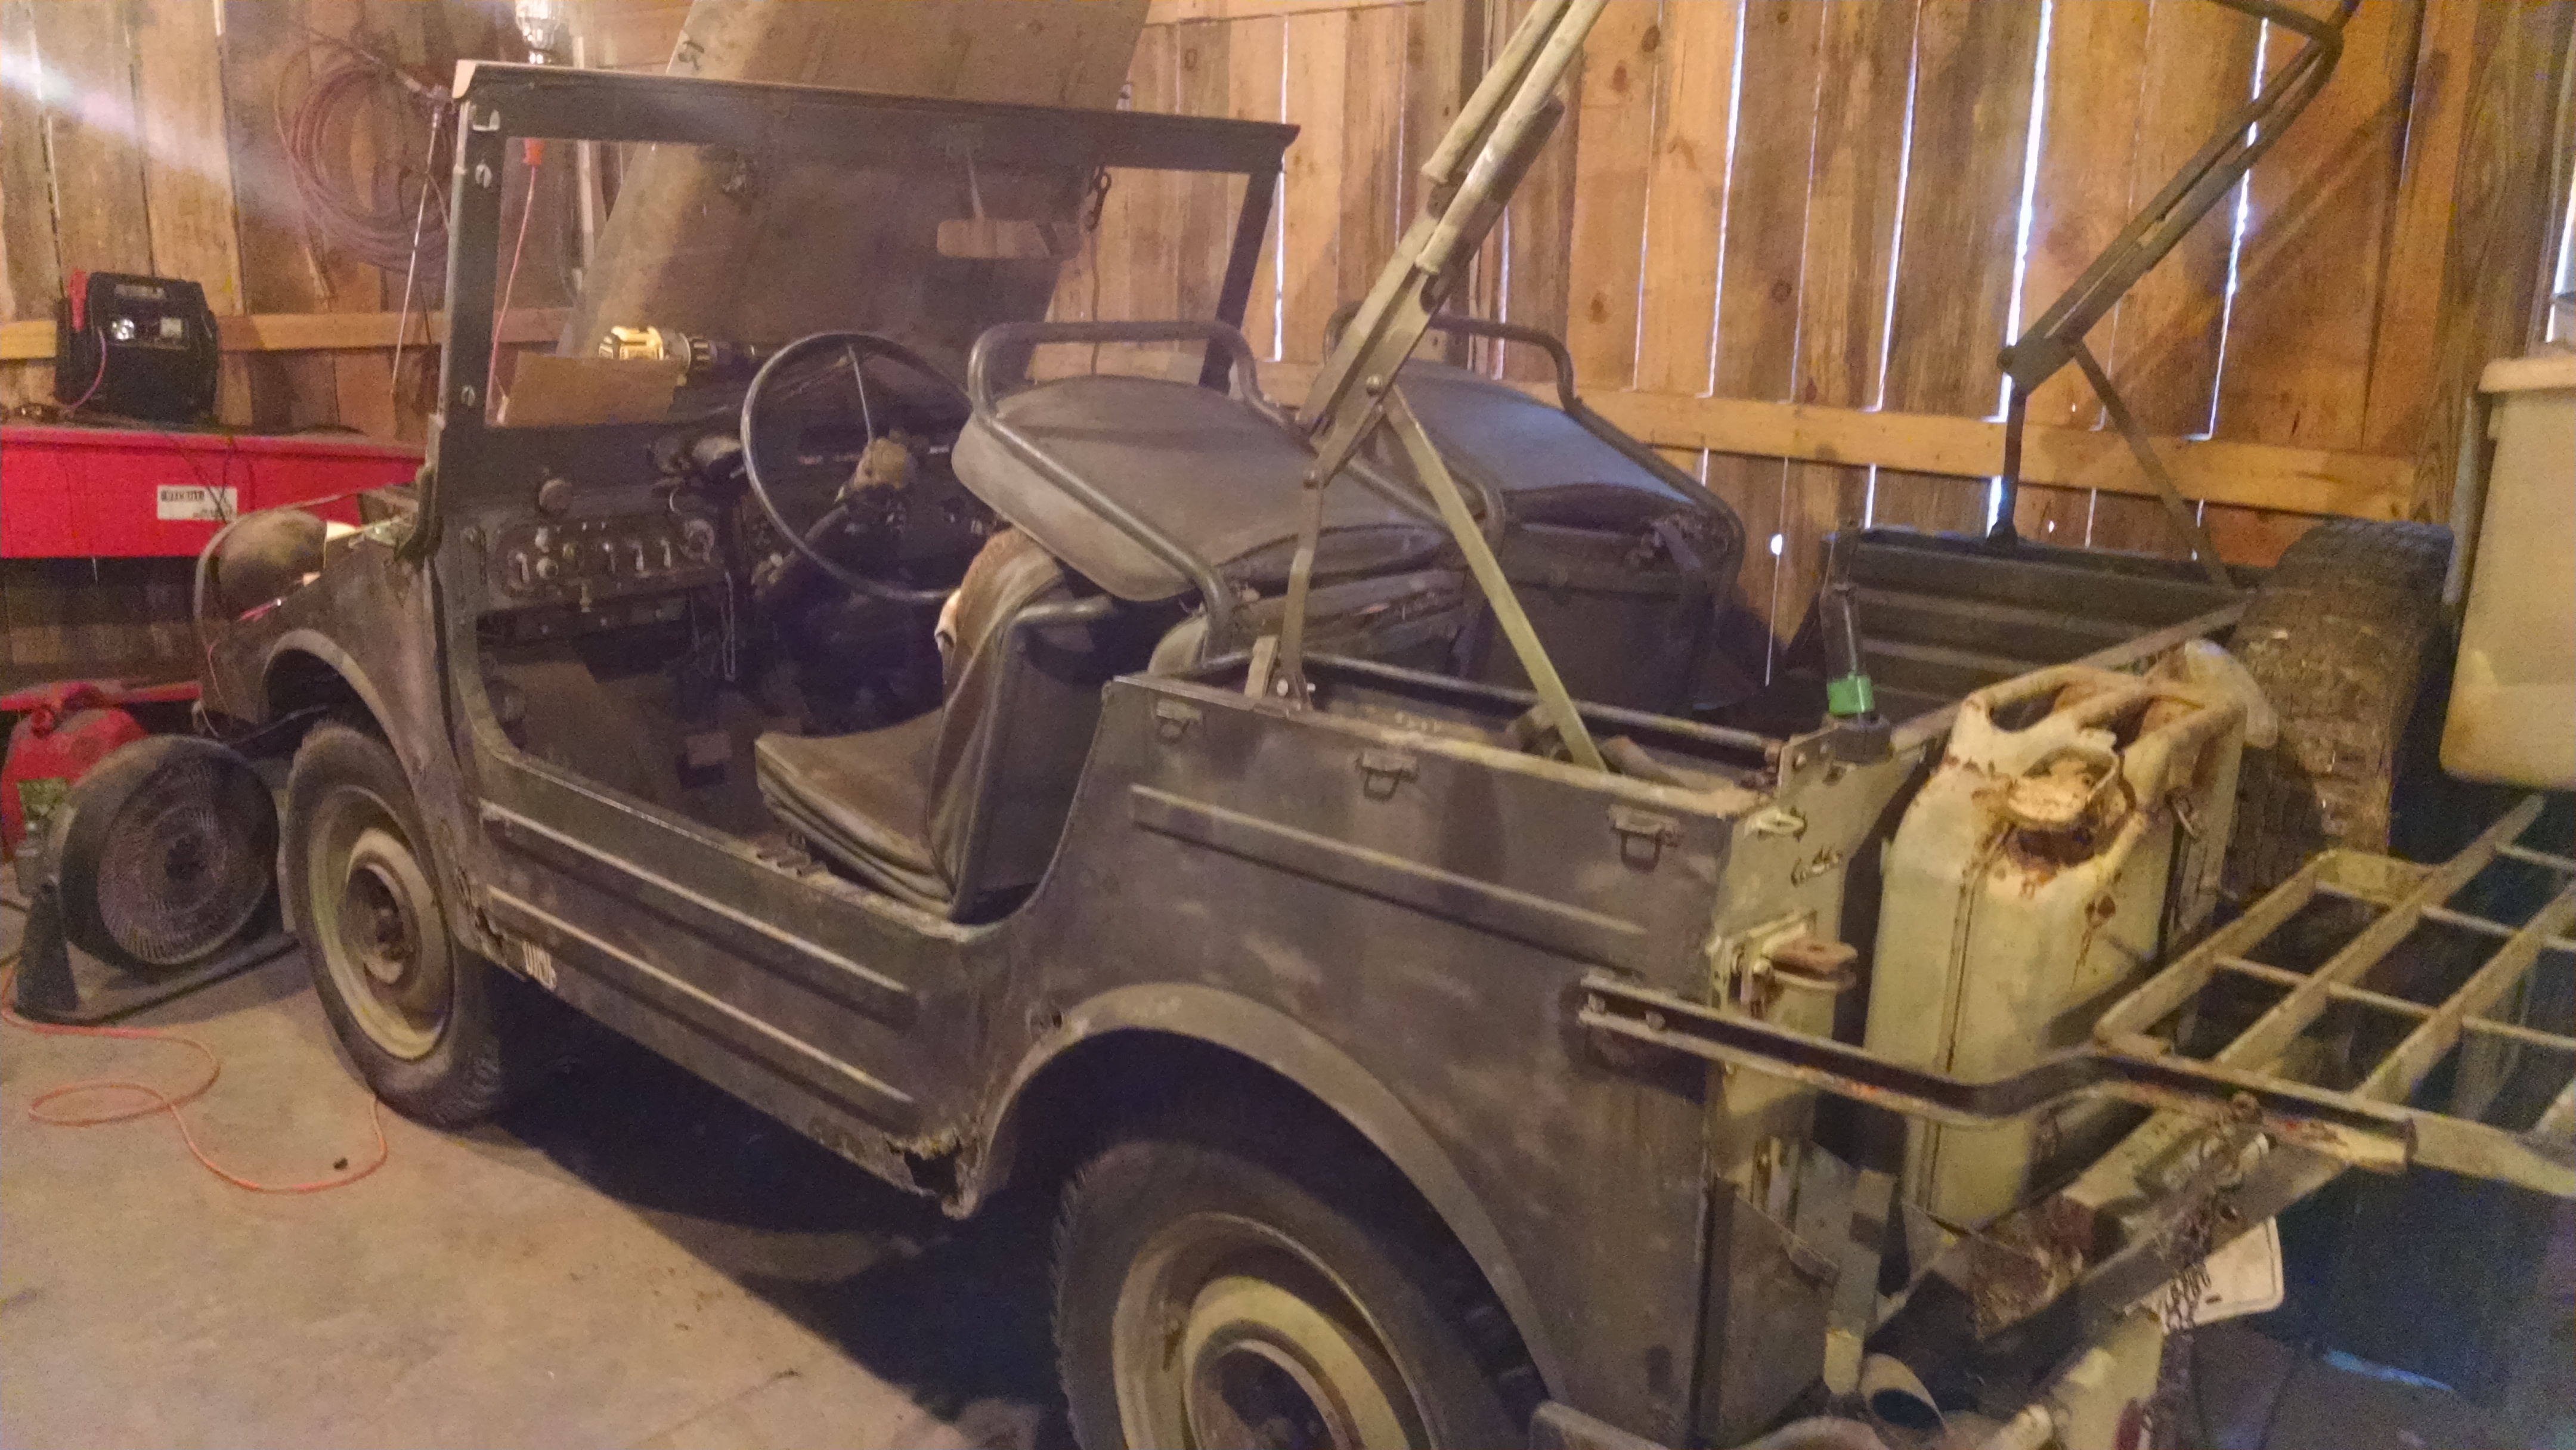
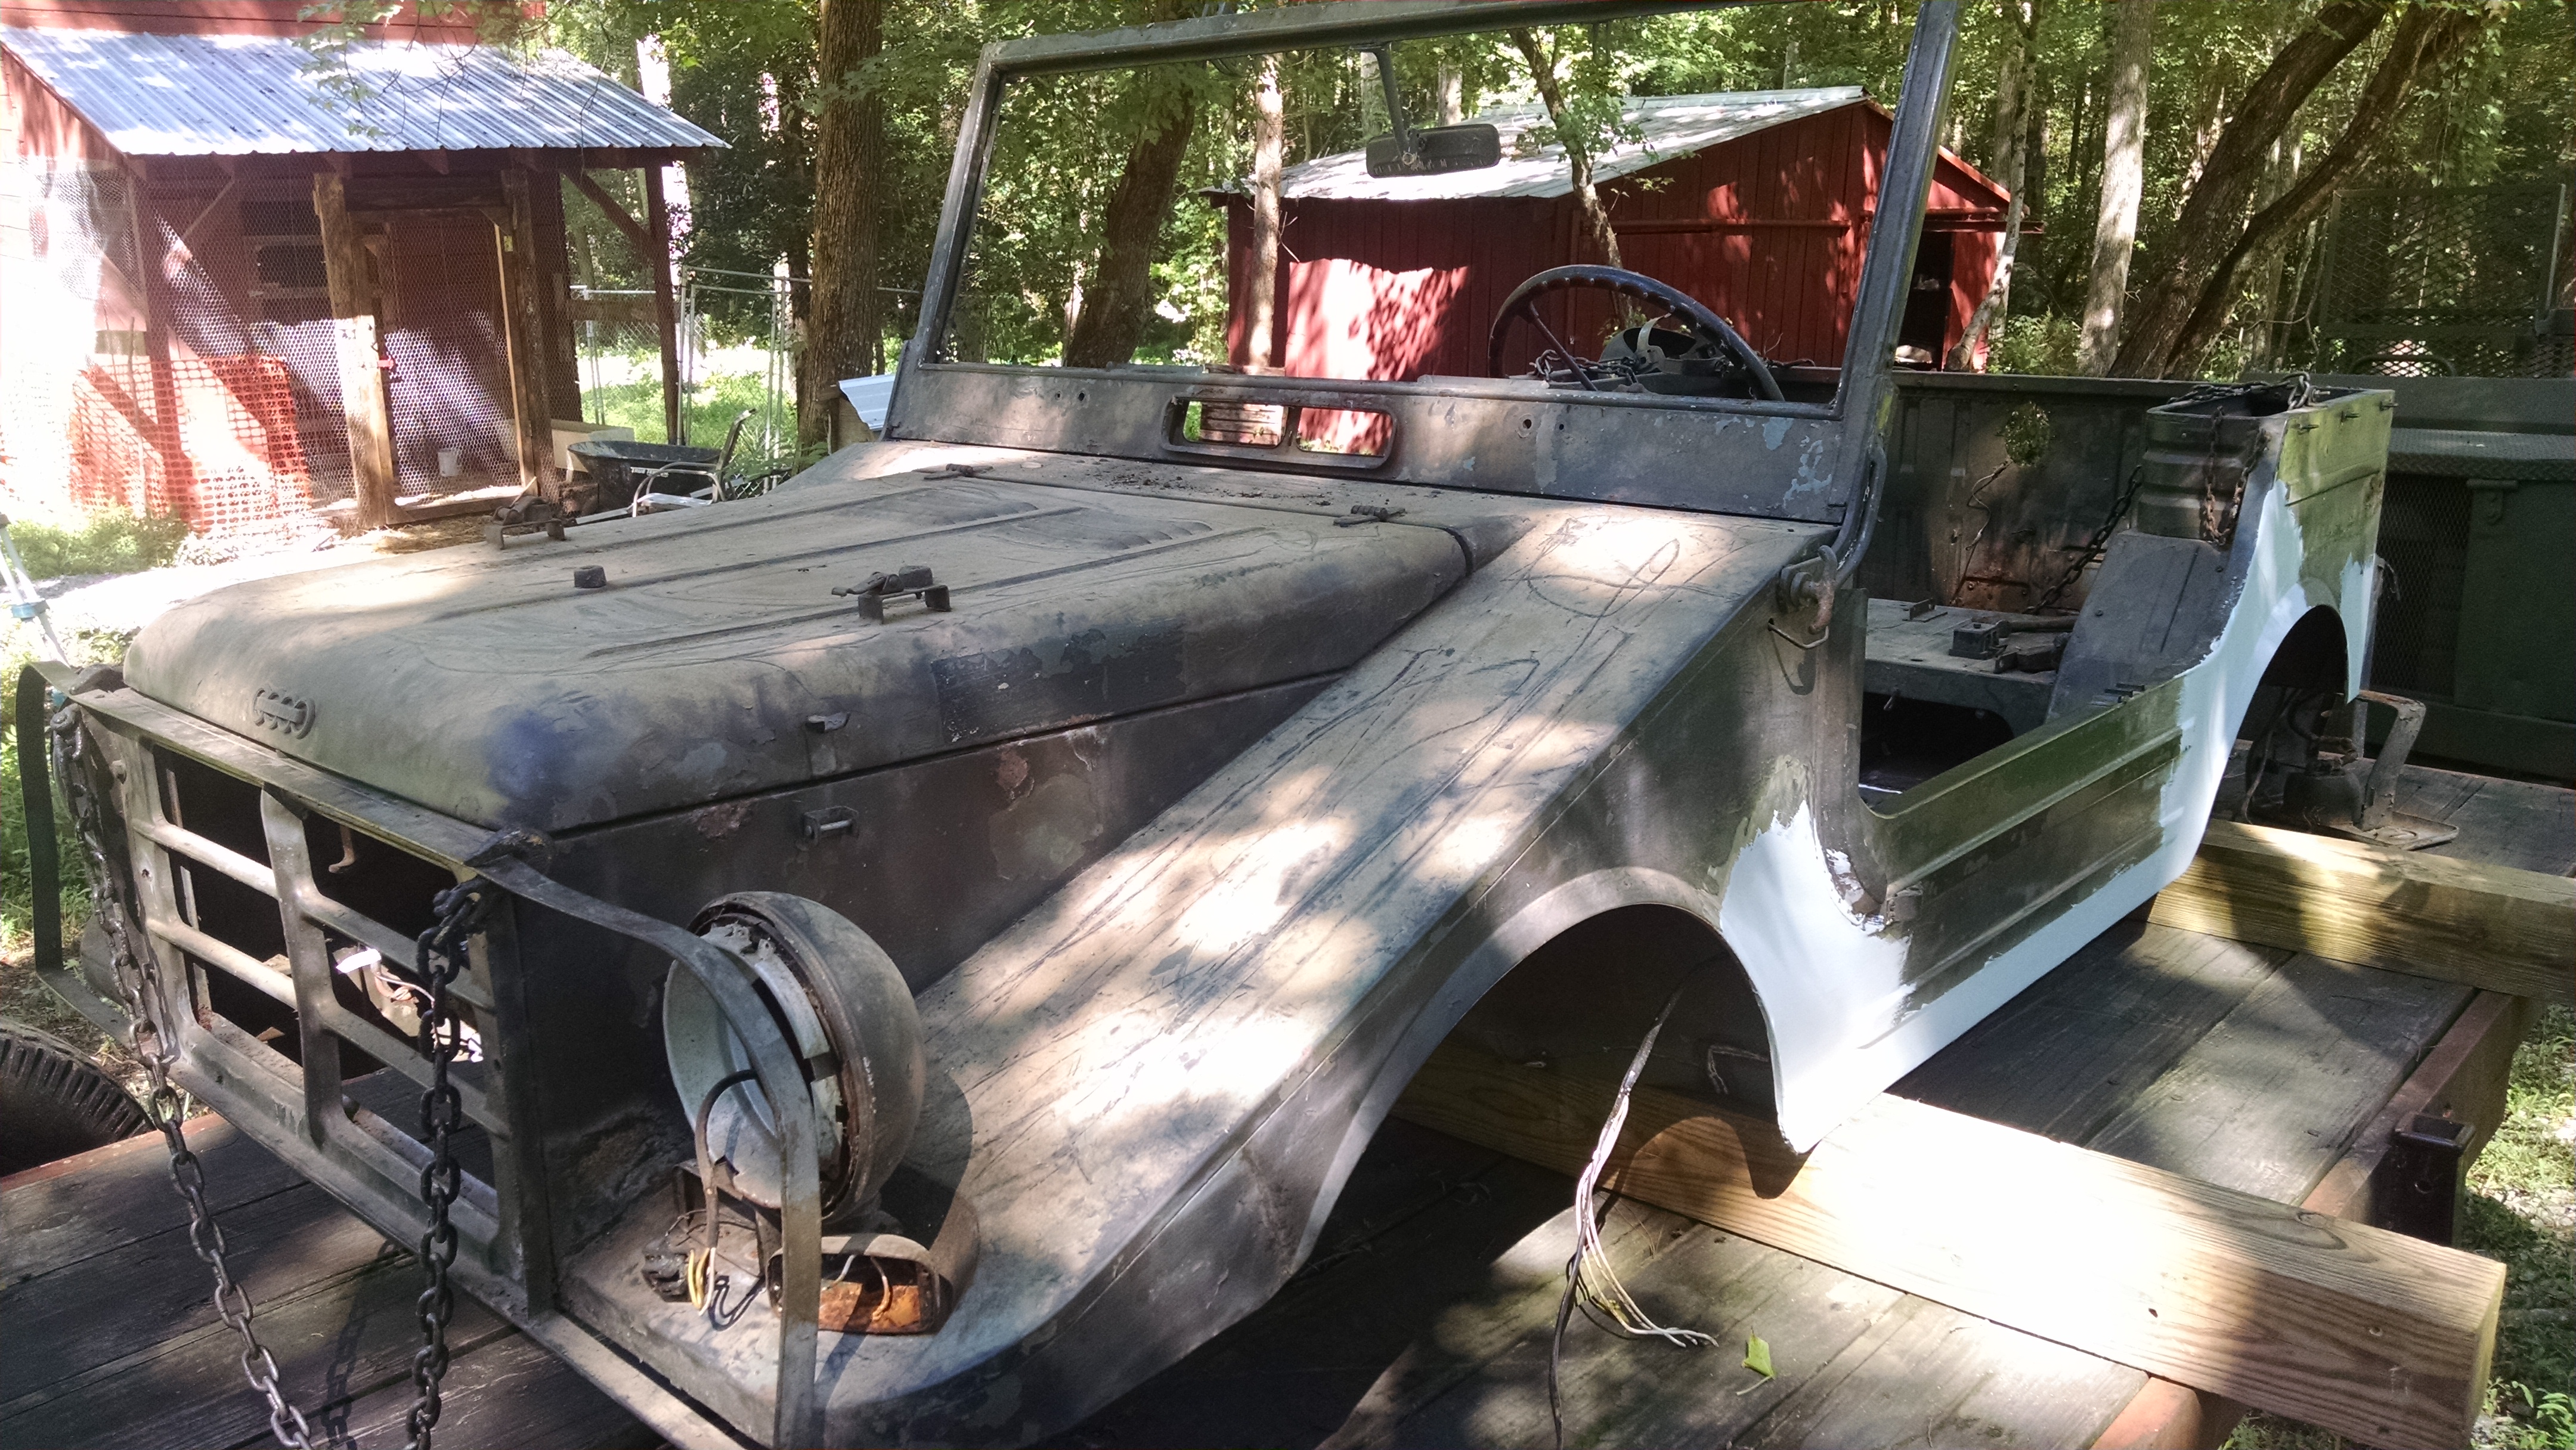
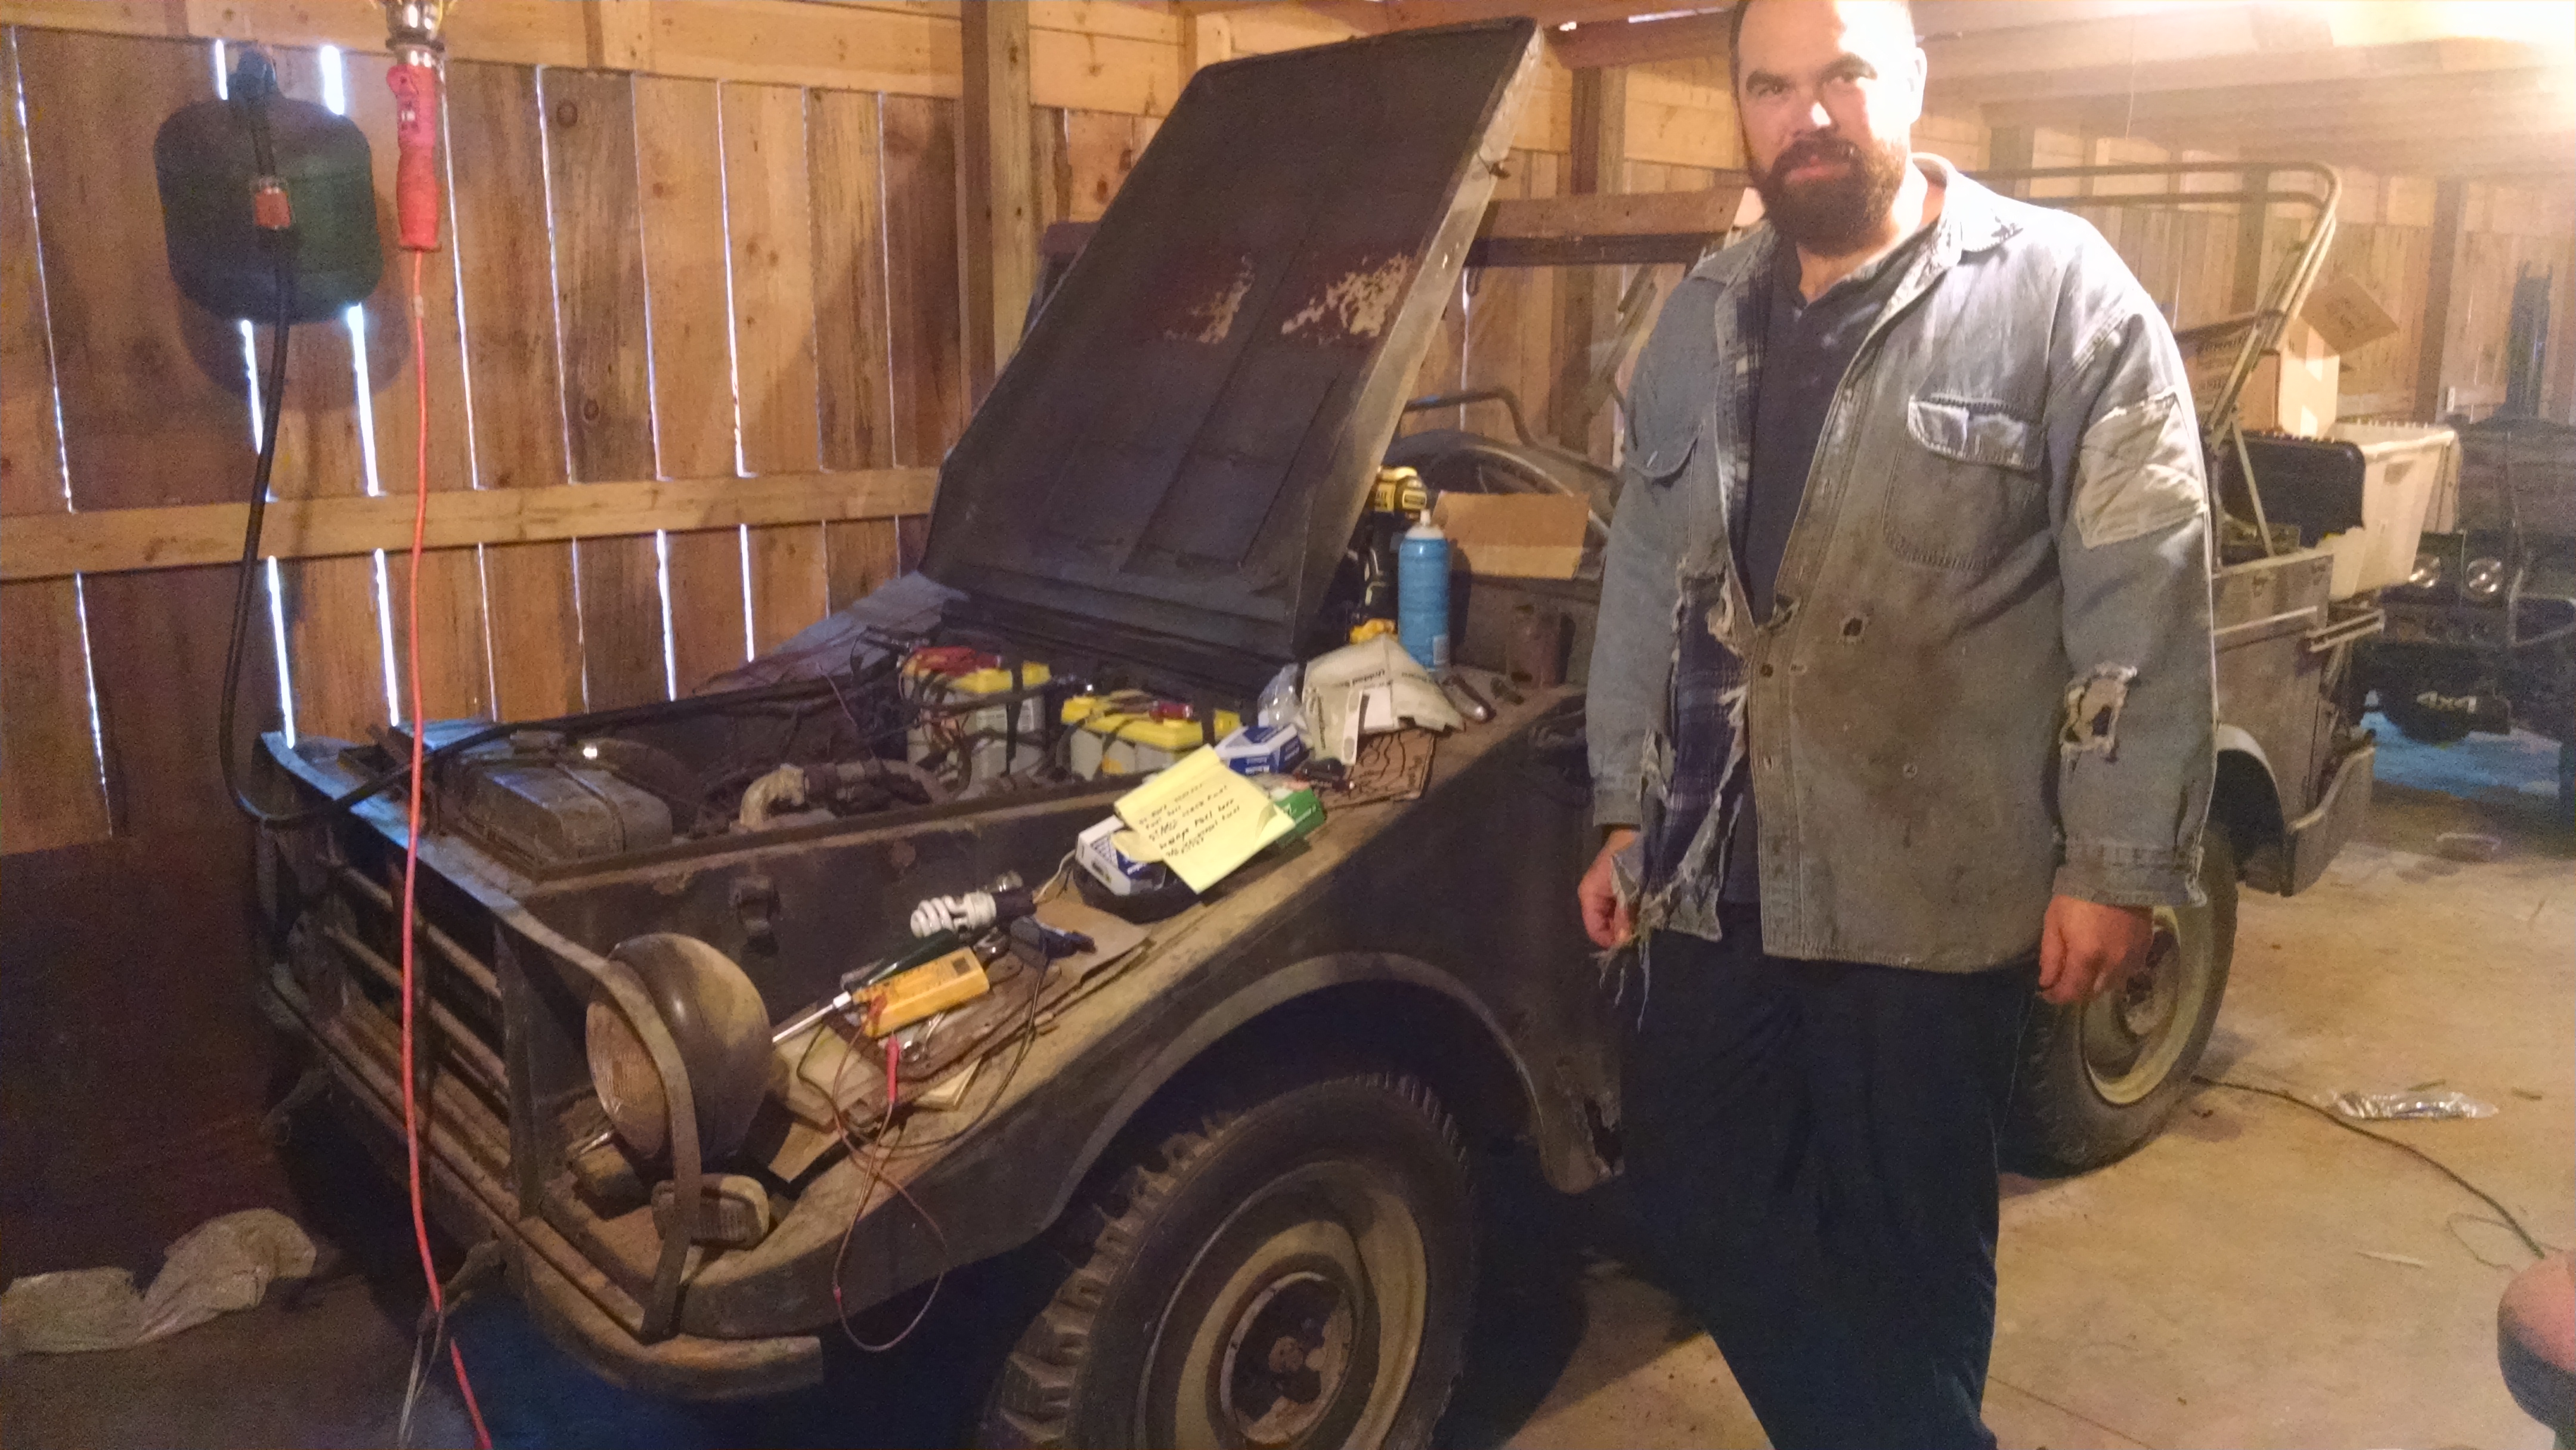
One of the first questions asked is how I found such a unique machine. While there were 46,750 Munga’s built between October of 1956 and December of 1968, very few of them made it to the United States. Since becoming familiar with them, I know of only four others in the US; two of which are little more than parts, one is in a museum, and the last is in a private collection. With that few of them around, it’s not surprising that it caught my eye while at a club member’s house looking to buy an M38 for my next project. Shoved in the corner behind a mountain of M38s, M170s, and a Power Wagon was a dust covered critter with a look similar to a VW Thing and a body full of leaves and debris. I was like a moth to a flame! After some help loading it and an honest handshake, I brought her home on the last day of October 2016.
Getting “started”
Not sure what I had, I started by looking, thinking, and researching. It became obvious that parts were impossible to source from the States, but I was able to find a parts supplier in Germany. Marco from Kemper’s soon became my ‘new best friend,’ offering all the critical parts I needed and even some extras, but more than that, they were a pleasure to work with; full of information, diagrams, and other helpful leads.
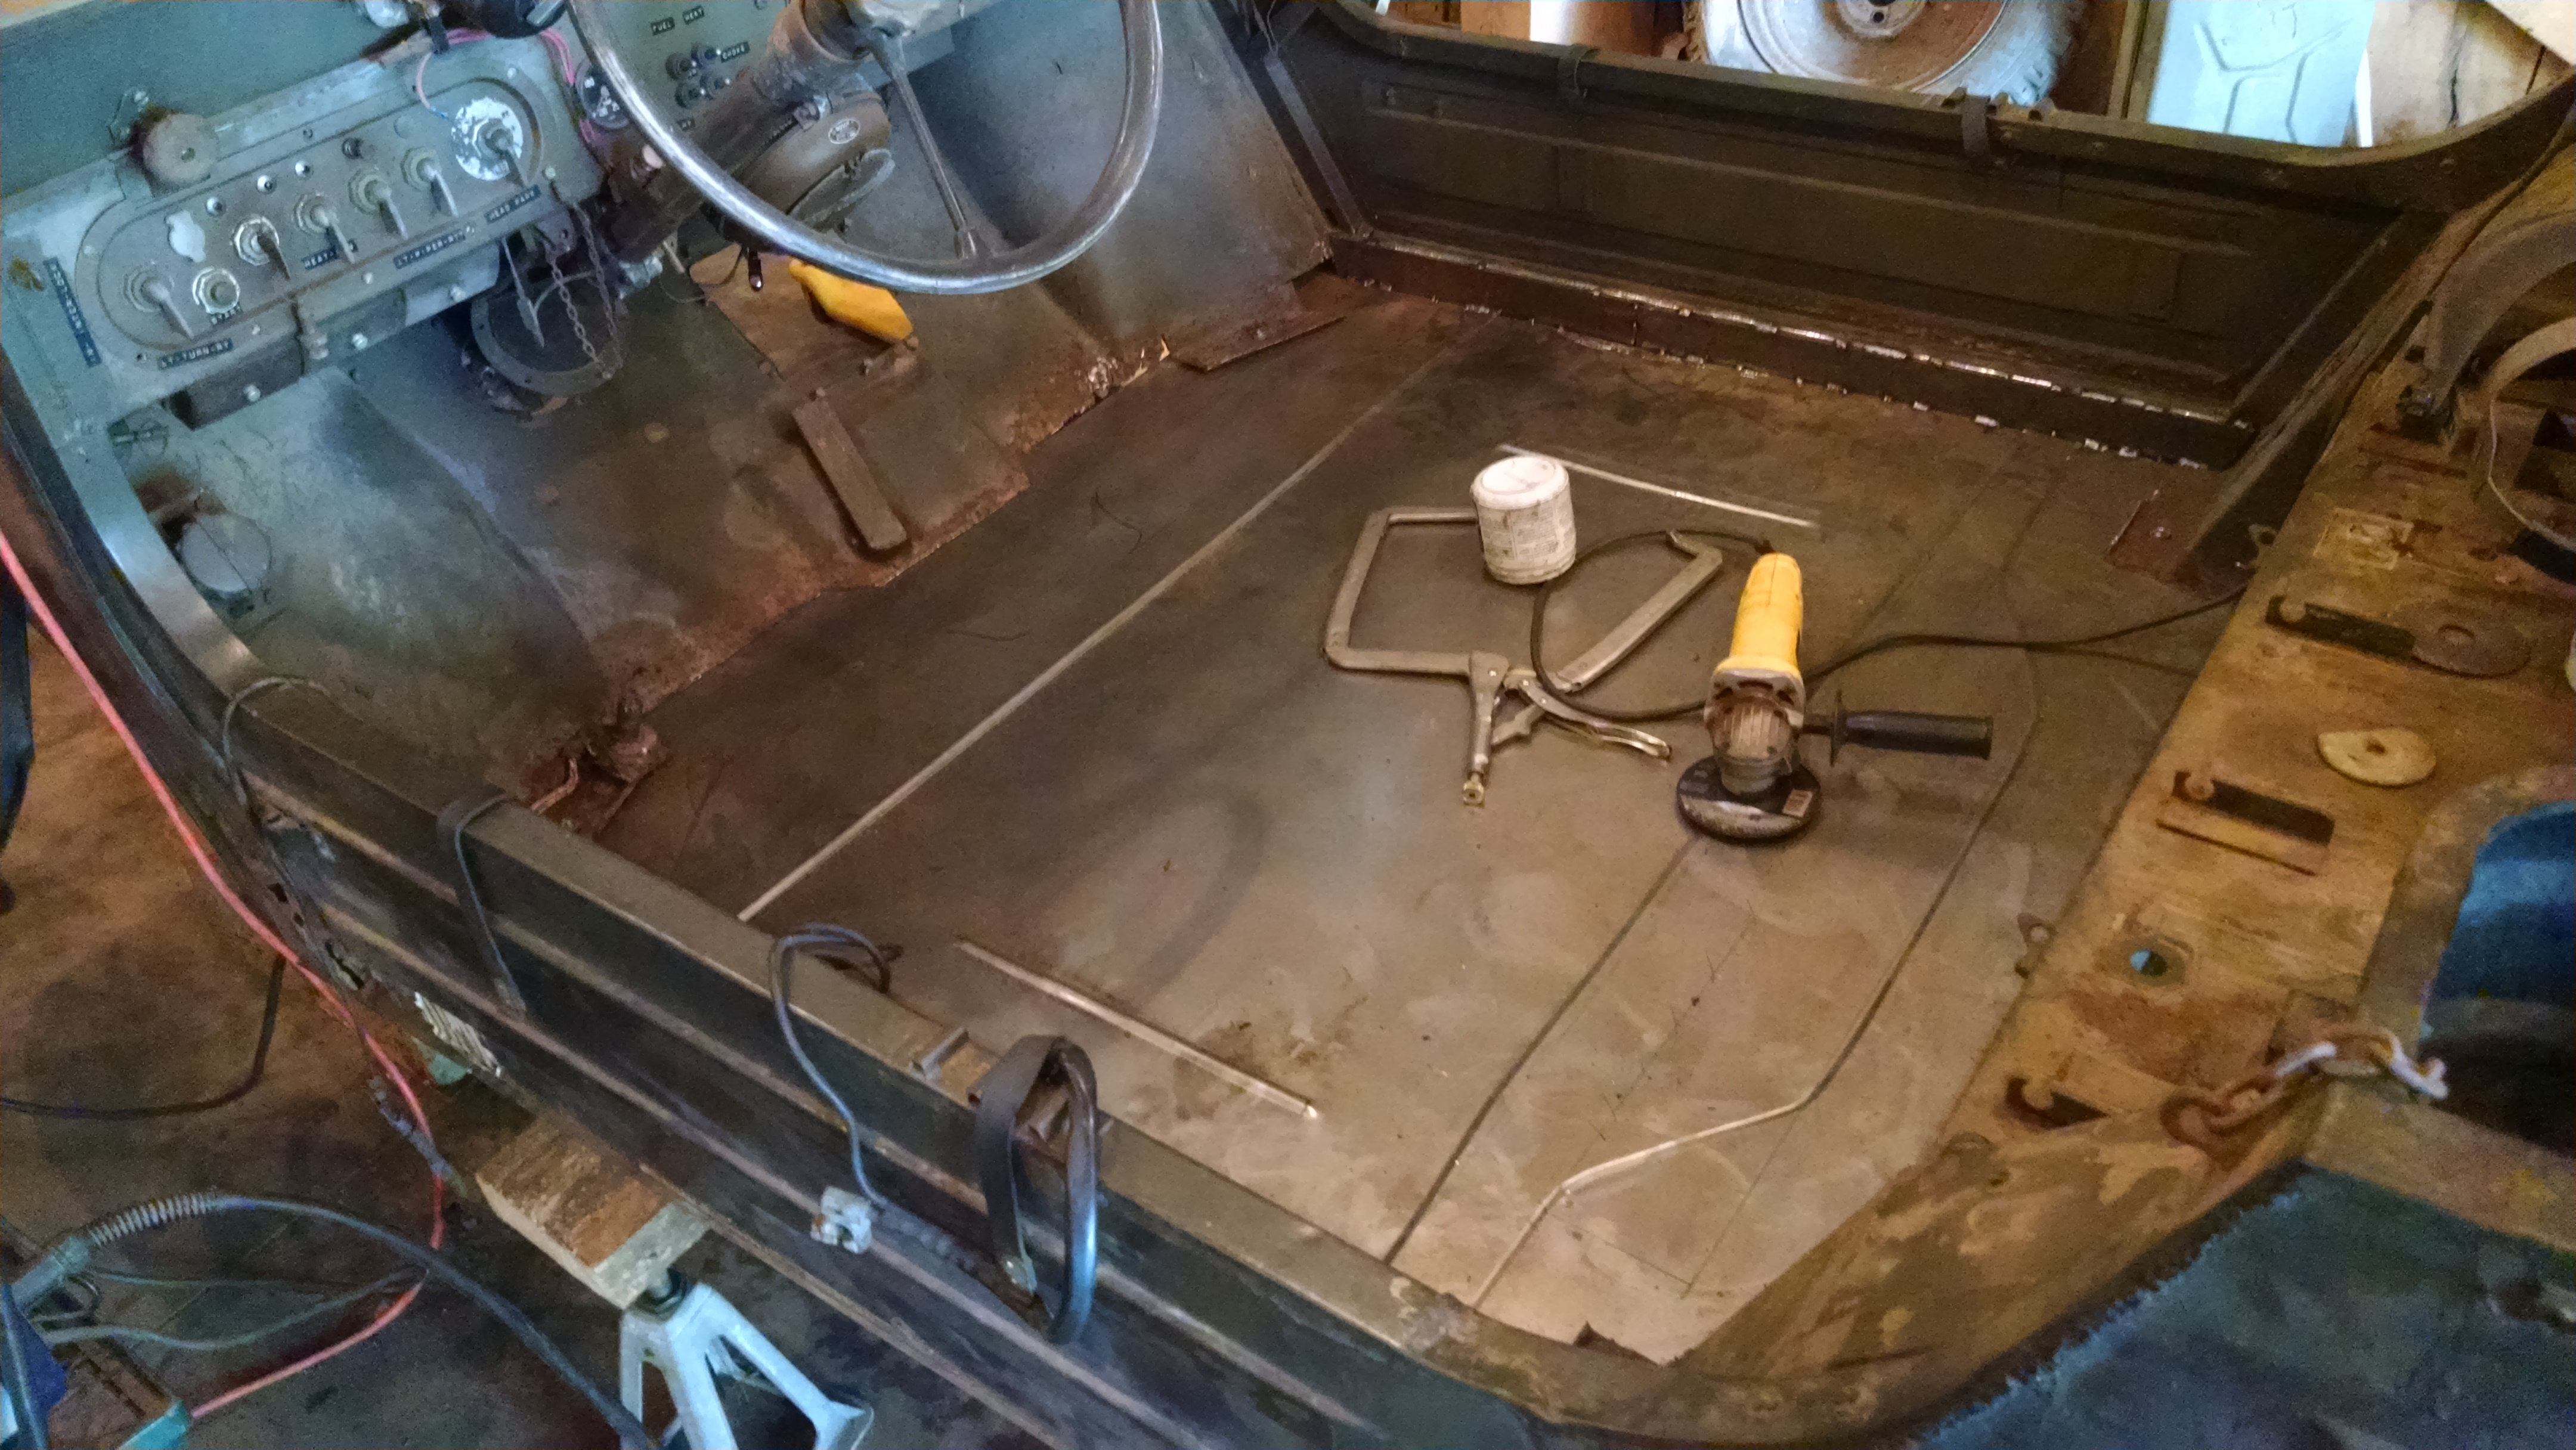
Knowing what parts were available and having a basic budget determined, the next question was how deep I needed to go with the rebuild. The floor was completely rotten, leaving no choice but to replace it in full, along with the rocker panels, fender wells, seat frame, and rear storage box. Every piece of rubber, from tires to the window seal to the always critical dust covers simply crumbled in your hands. And most concerning, I hadn’t heard it run nor seen it move … and so it began…
The next order of business was to hear it run. Having only slightly over 10,000 miles showing on the speed-o-meter, I had faith that the major components were usable. To find out, I took it down to the basics – fuel, spark, compression, and timing.
Compression
Often overlooked, yet very telling, the first thing I checked was compression. If you don’t have a compression gauge, check that toolbox you inherited from your grandpa. Chances are you’ll find one. After getting the batteries in place, I was able to turn the engine over and was happy to find 140+ PSI. I didn’t know exactly where it should be, but judging from other engines, that’s like new! So I ruled out cracked pistons, bad rings, a locked up motor, and even sorted out basic wiring issues. In the words of my grandfather, “Beautiful, just beautiful.” He was a man of few words.
Fuel
Hold the phone! What’s this on the fuel cap – 1::40? What’s this little cup under the fuel cap? That’s right, it’s a two-cycle gas engine, sporting 900 cc and 44 horsepower three-cylinder “hamster wheel” that is actually shorter in length than the generator. Okay, grab the gas can for the chainsaw and completely bypass that nasty fuel tank, plugged fuel lines, and fuel pump from the 50’s. By removing those variables, you drastically increase your likelihood of success. Buy a basic inline pump from any auto parts store that ranges from 4-6 PSI. Add a filter before the pump, a siphon hose, and a hose to the carb. Don’t mess with that 24 volt system – the carburetor doesn’t know! Simply wire your fuel pump to a power plug and plug it into your jump box. Now you know you have a good fuel supply, but to what … likely a plugged up carb. For this first test, you don’t need a fully rebuilt carburetor, but you do need a clean one. So I took the time to pull it apart, and I’m glad I did – it was completely plugged up with what appeared to be dirt. As it turns out, two-cycle gas doesn’t just gel, it will actually harden given enough time. With the fuel supply in place and the carb clean, I was able to move onto spark.
Spark
Simple right – hook a grounded spark plug up to a wire, shut off the lights, and see if the sparks fly when you turn it over. As I came to learn, there is nothing simple with German engineering. The Munga has three sets of points in a water tight box driven by the front of the crank. There is a mechanical advance built into the crankshaft pulley that needs to work freely. And to add to it, there is a separate ignition system for each of the three cylinders. That’s right, three sets of points, three condensers, and three coils, each requiring their own tuning. And don’t forget that some of the wiring had been horrifically hacked up. While it took some time, I was able to sort through it and get solid spark from all three plugs, but the type of plug introduced a whole separate issue.
The price for NOS military water-tight plugs for a German Munga was pretty high – if you could find them. I tried some plugs with the right thread and seat, but was having no luck until I went to a very hot plug, used in old tractors and available at my local parts store. That was just the ticket!
Timing
Most people leave timing out when they explain what an engine needs to run, but timing is one of the most critical components to a well running engine. If you don’t believe me, ask someone who’s installed the timing gears wrong and bent the pushrods, or lost a timing belt on a newer engine. For the Munga, I assumed the timing was close for it to have once run, and that no one would have incentive to change it, so I left well enough alone for the initial start. I did fine tune it after some break-in runs.
Vacuum
That’s right, there’s more. I added timing to the ‘big three’ of Compression, Fuel, and Spark, but I came to learn that vacuum is equally critical to a two-cycle engine; although, it wasn’t apparent during the initial start. When I first fired the engine, I was looking only to prove it ran, and it did, but I didn’t run it long enough to realize I had a gremlin hiding just below the surface.
On a traditional internal combustion engine, a leak in the intake or carb base can cause a host of issues, but typically, they can be found by an unsightly stain around the mating surfaces. On a piston ported two-cycle, the vacuum is what pulls the air/fuel through the carb, intake, crankcase, and through the cylinder, and ultimately out the tailpipe. Short of the head gasket, any leak in that sequence is vacuum, and unlike a pressure leak, a vacuum leak leave few indicators. It wasn’t until after the rebuild that test runs uncovered my vacuum leak and caused the engine to run so fast that I seriously thought it would fly apart before I got to the switch. I like to think I’m a seasoned mechanic, after having built multiple street rods, muscle cars, military trucks, original rebuilds, a cannon, and even a breast pump! But this little Munga took me back to school on several occasions; though, this was the worst.
With some help from a good friend, we went through the process of elimination to determine that the issue was, in fact, a vacuum leak. To get a better look, I pulled the engine, surprisingly, in only 30 minutes – this, by the way, was the first easy thing I’d done on this machine. We found no indications of a leak, but to my good fortune, this build came with a number of spares (which is what the German’s call extra parts). In those boxes, there was a complete engine gasket kit, and so I started at the carb and meticulously inspected each surface until I found a large gap between the intake and the block where the gasket had failed. With some new gaskets, we soon had a running engine, but I’m getting ahead of myself. Let me take you back to the build.
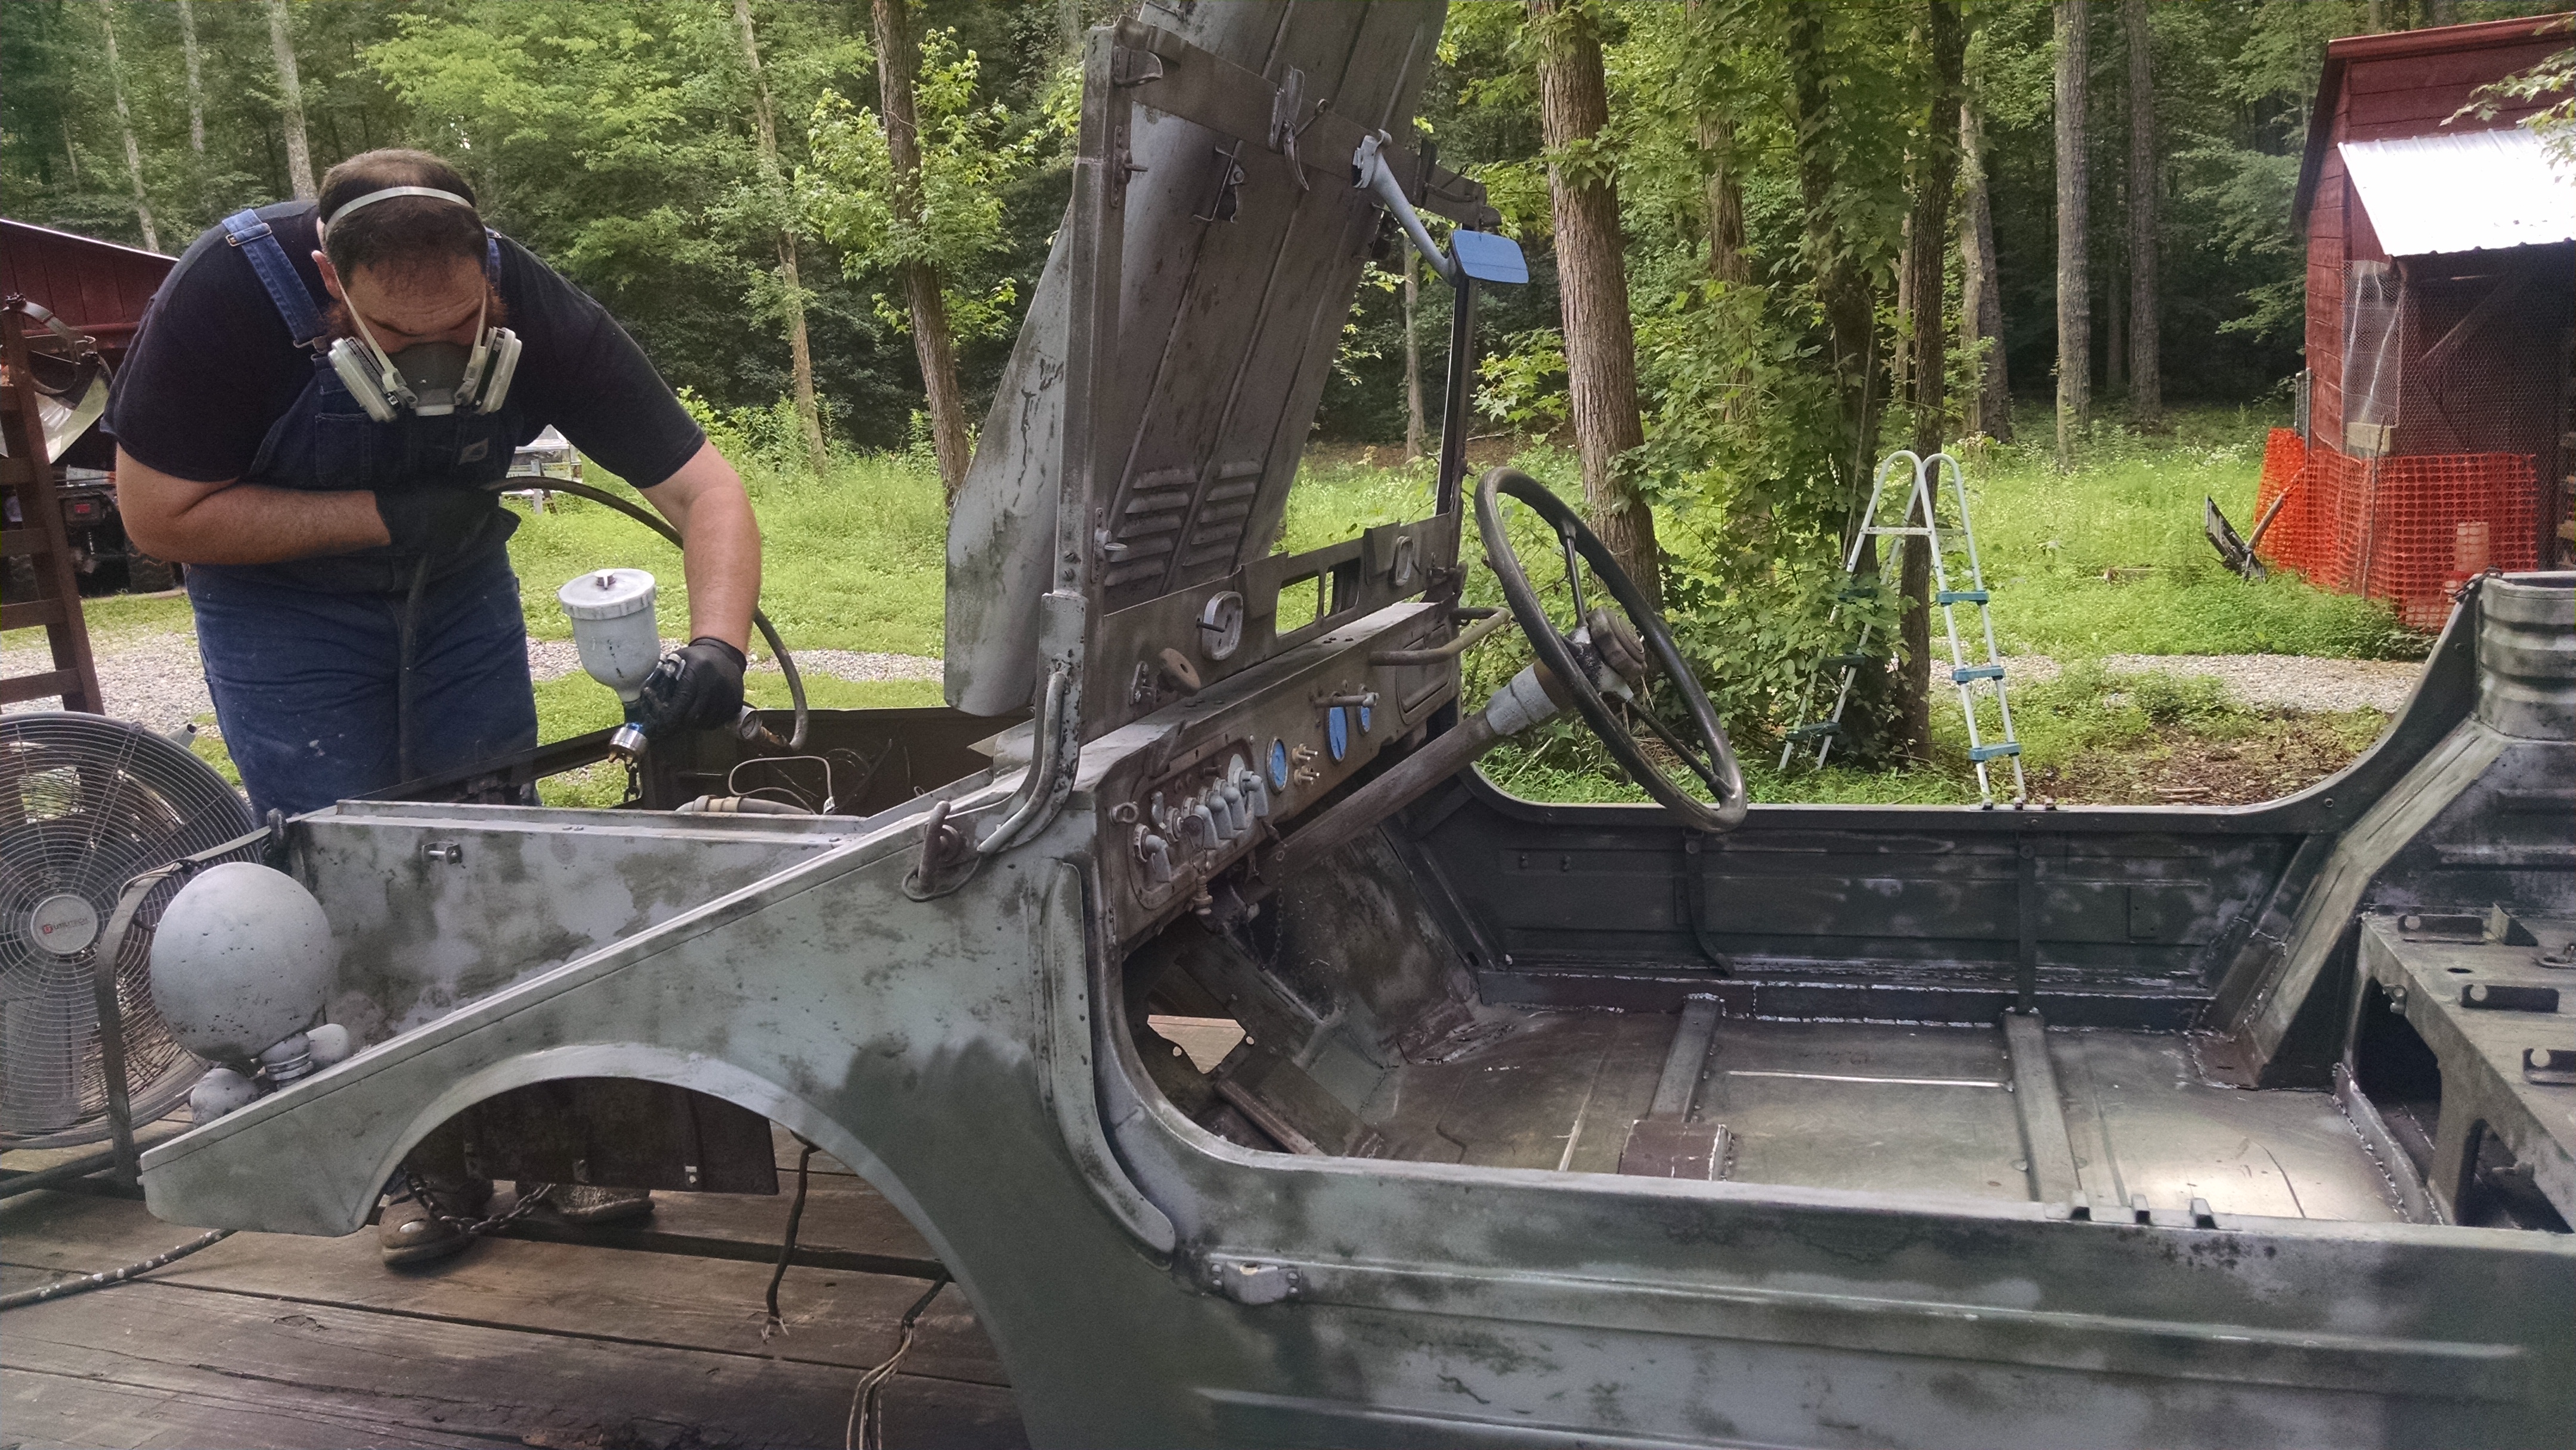
Ashes to ashes, dust to dust, now we need to resolve the rust…
Knowing it would run and inch forward in all gears, I started the tear down, but this was not a torch and hammer event. Like many unique builds, every part (sometimes regardless of the condition) are worth their weight in gold. Every part was removed, labeled, and laid on a shelf in order of having been removed.
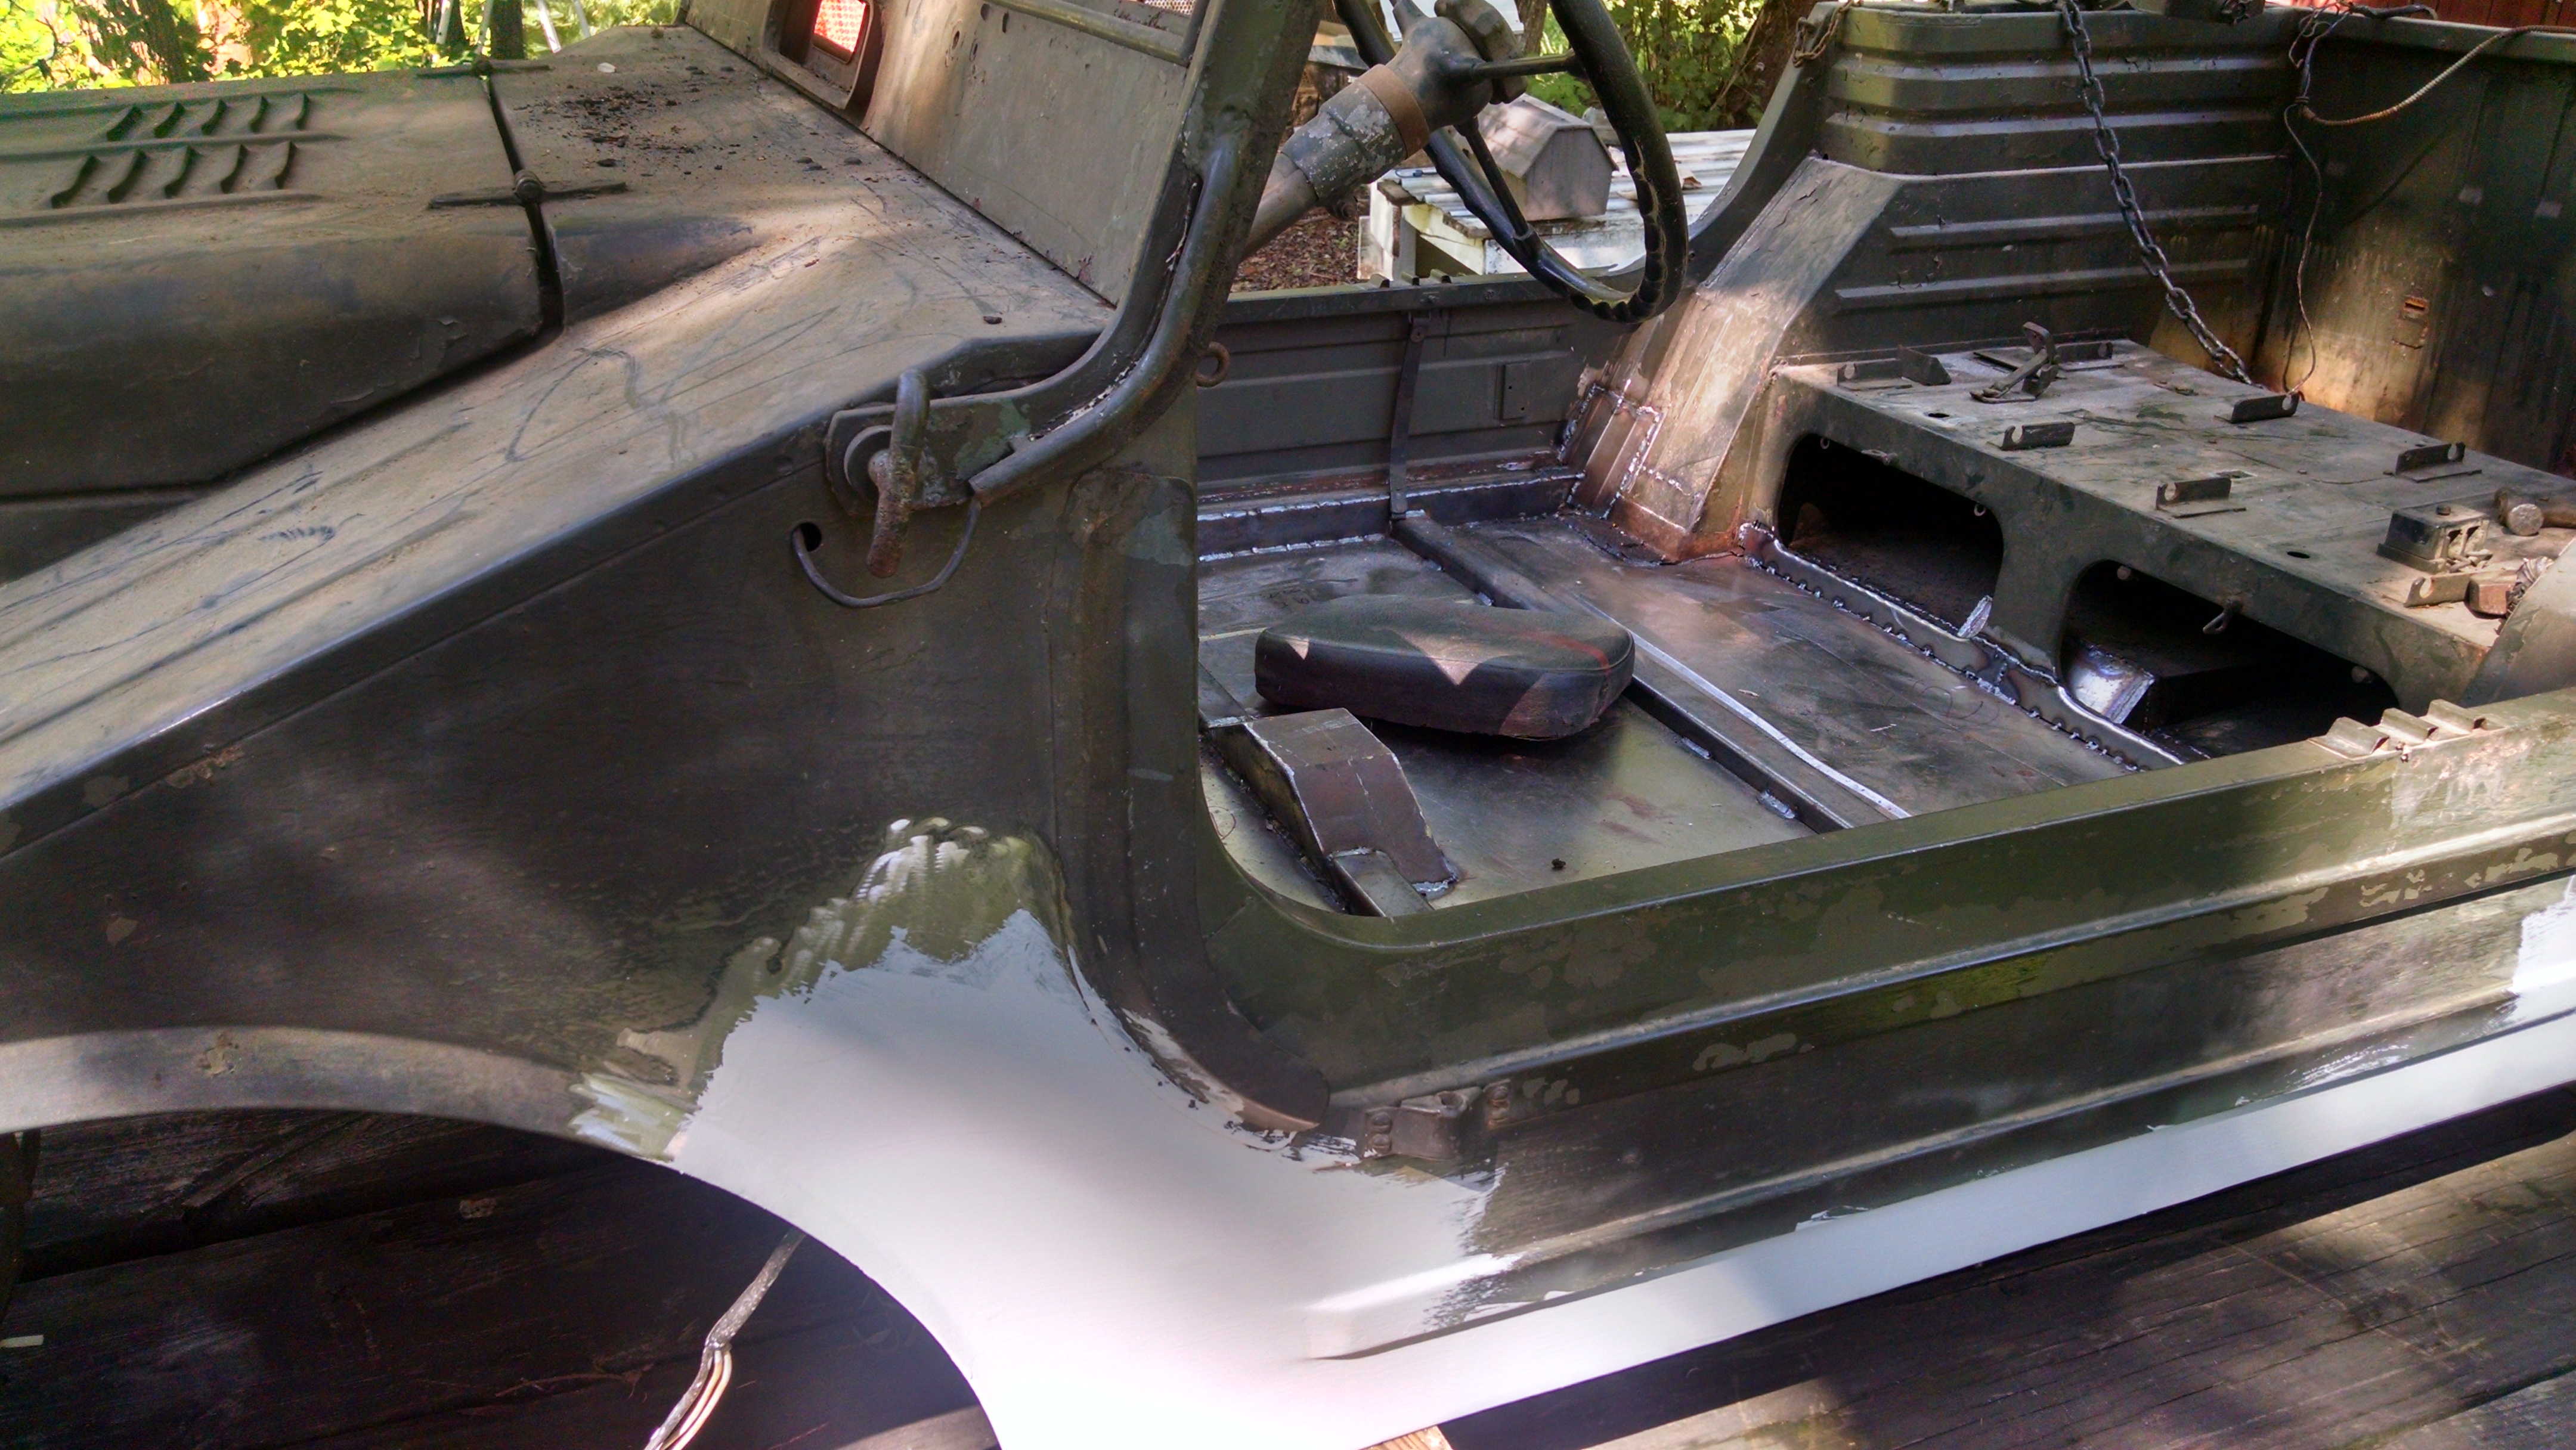
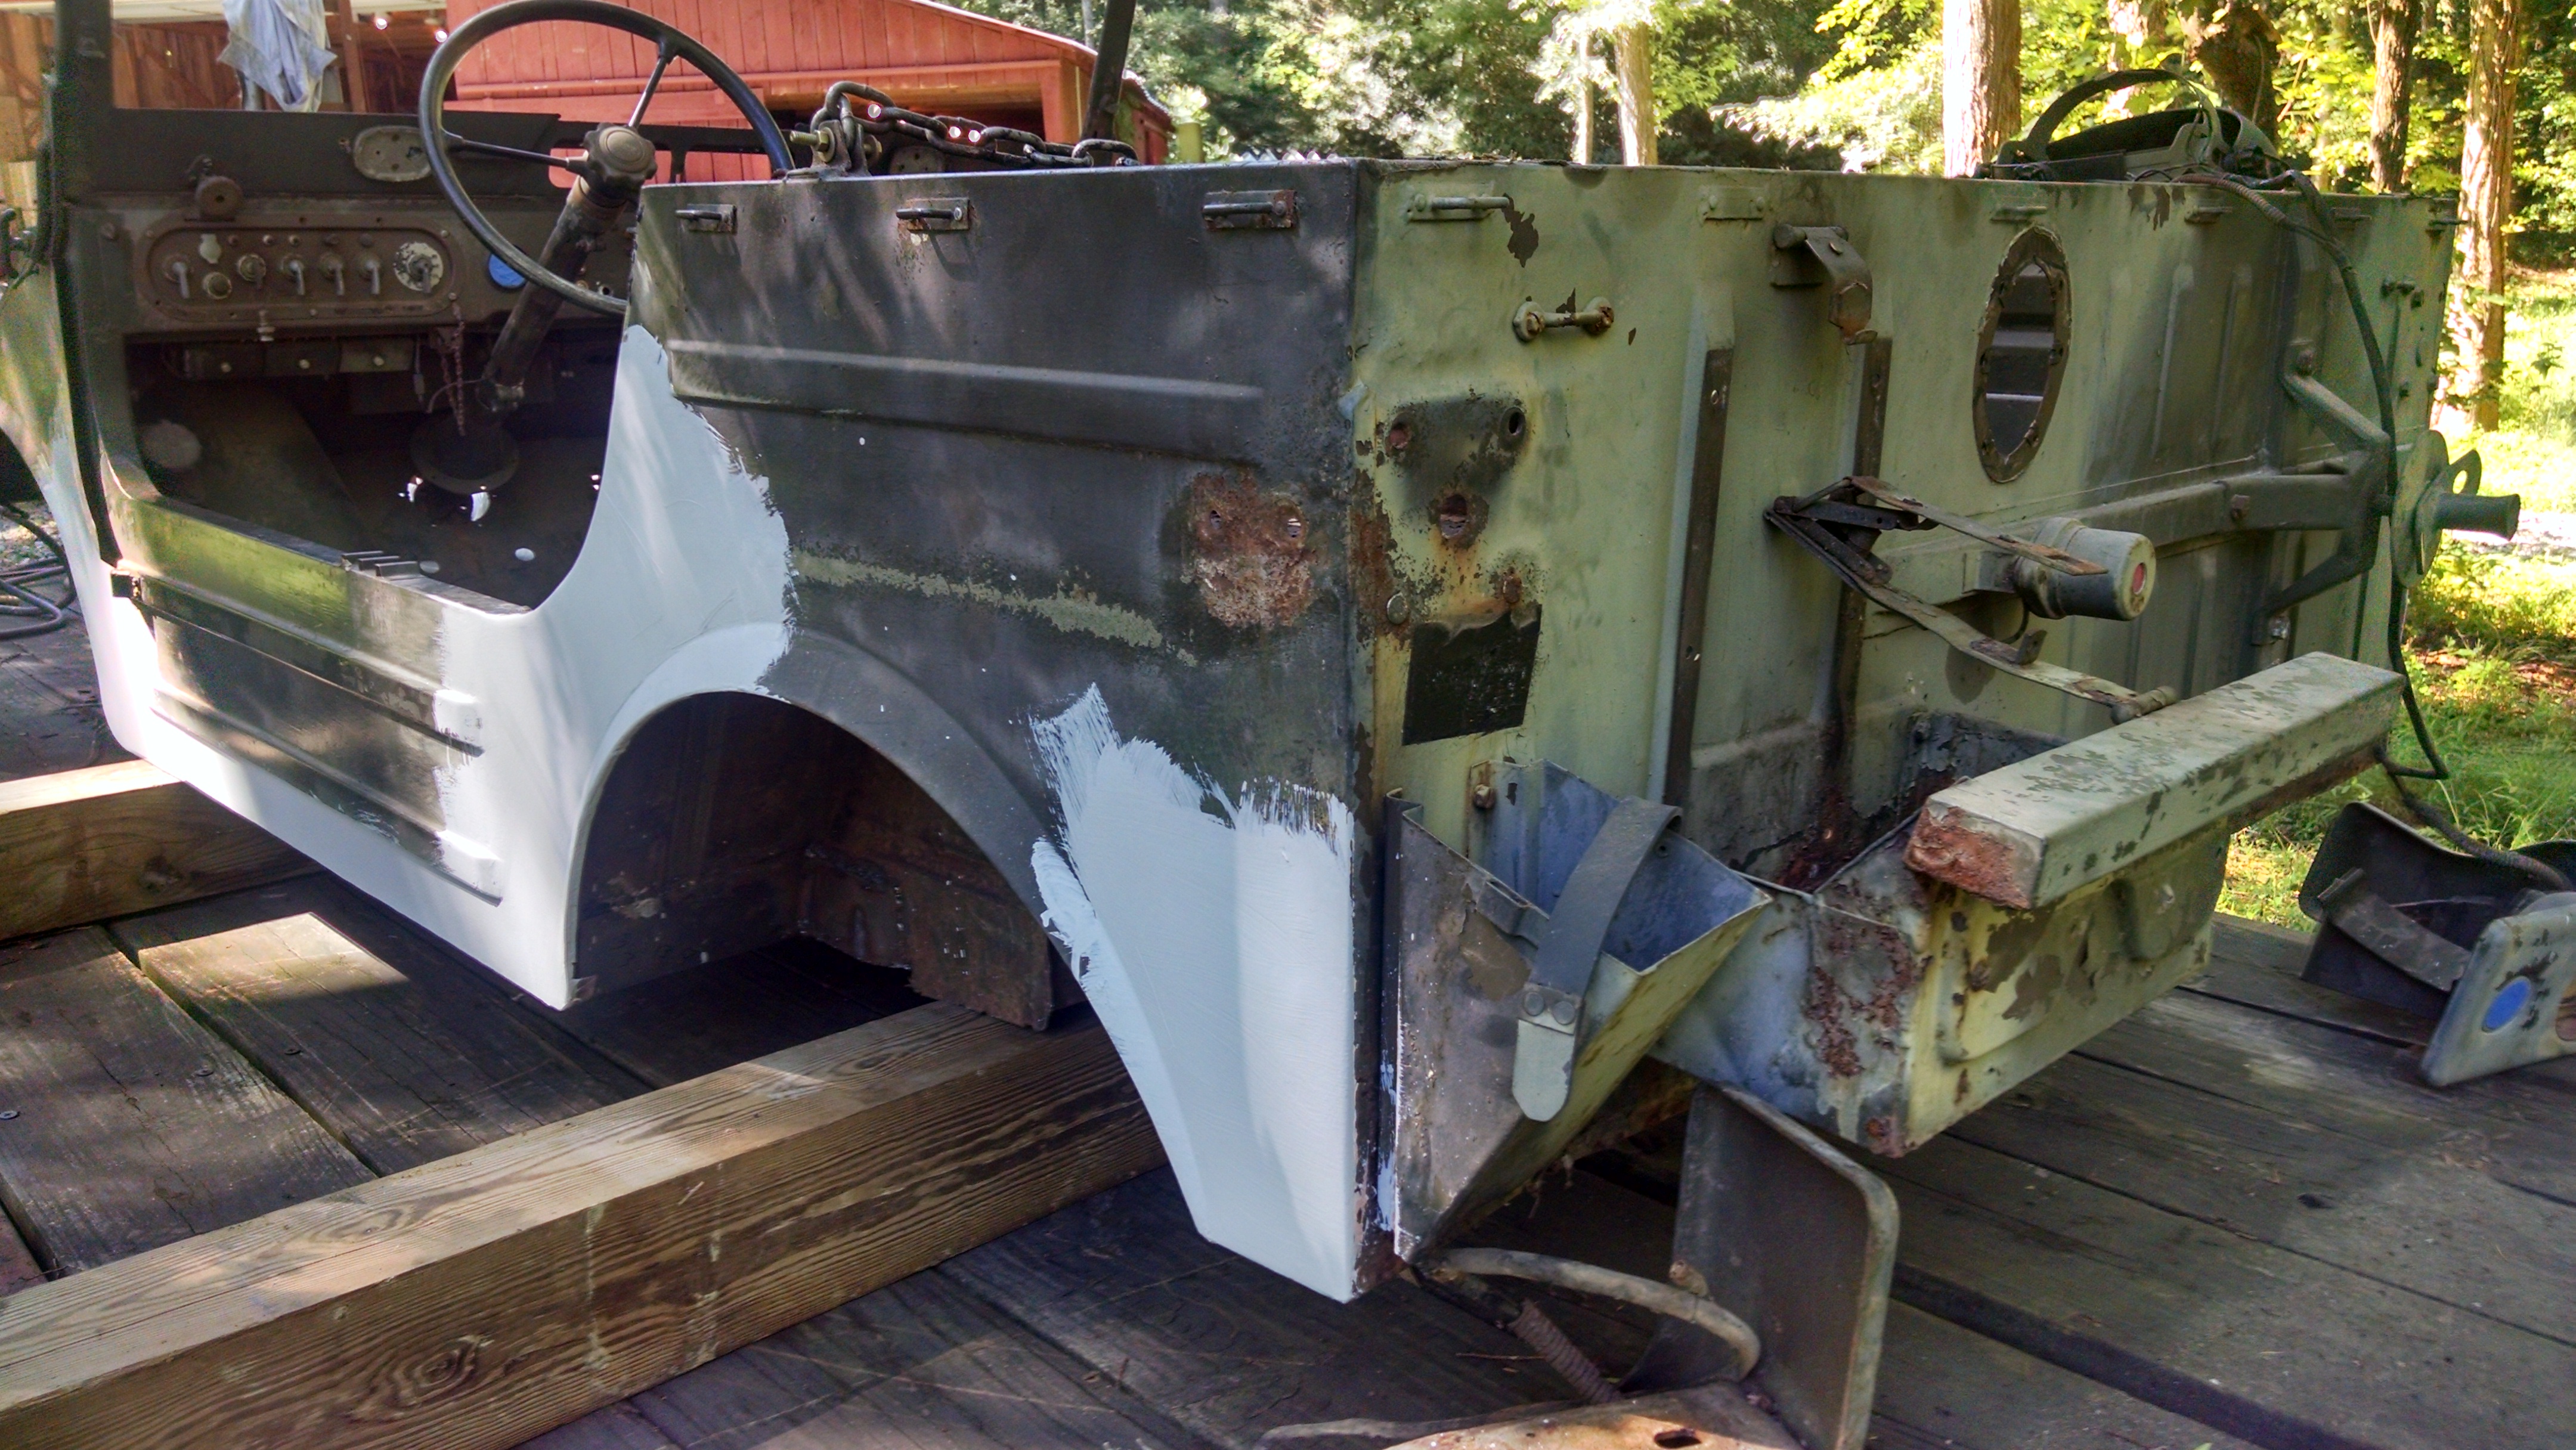
My focus then shifted to worst issues first. My father always left the hardest part to end, claiming that gave you time to find a solution, and that you’d be less willing to walk away having only that one challenge left. As with many sons, I did exactly the opposite, and began a relentless battle against rust. I learned long ago that, when repairing rust, you cannot be afraid to cut; and cut I did … deeply. To keep it from simply falling apart, I had it supported by eight points under the body and four points connecting to my overhead crane (which I built myself, but that’s another story). The floor, rockers, and parts of the fenders were gently cut away, making patterns and markings all along the way. I’ve found building the panels before the cut often saves time and improves quality.
One thing that cannot be bought is the floor. Some panels are available, but not all. So I bought a sheet of steel, roughed out the basic shape, and then bead-rolled the floor to a close facsimile of the original panels. I was also hell-bent to use only one panel, so as to avoid warping and ugly seams, though it was impossible to control a 54.5x48 inch sheet of 18 gauge steel while trying to run it through a hand-cranked bead-roller. Enter engineering... After a hot shower one night, the idea came to me to mount my bead-roller on the side of my trailer, using the trailer as a huge workbench. Some time earlier, I had welded stake pockets on my car trailer in order to mount a crane that could be moved to any corner of the trailer for loading things a normal guy comes across, like a cannon or a deep sea mine – you know, we’ve all been in those situations, right?
I digress … I was able to use those stake pockets to securely mount my bead-roller, and with the help of my eldest son, merely twelve years old, we cranked out a floor panel to be proud of. Lifting it in as one solid panel allowed me to position it just where I wanted it, including all the little brackets and such from the old floor. With the floor in, I shifted focus to the smaller panels.
This is not a ‘how to’ article, but there are a few tricks I’ll share. For example, when you can, weld from the inside of the panel. If done right, you use almost no filler, which on an off-road application, is especially important. Also, spend the extra time to do the tinwork right – it saves time in the body work and makes for a higher quality build. A few smaller patches and the body was ready for cleaning and paint.
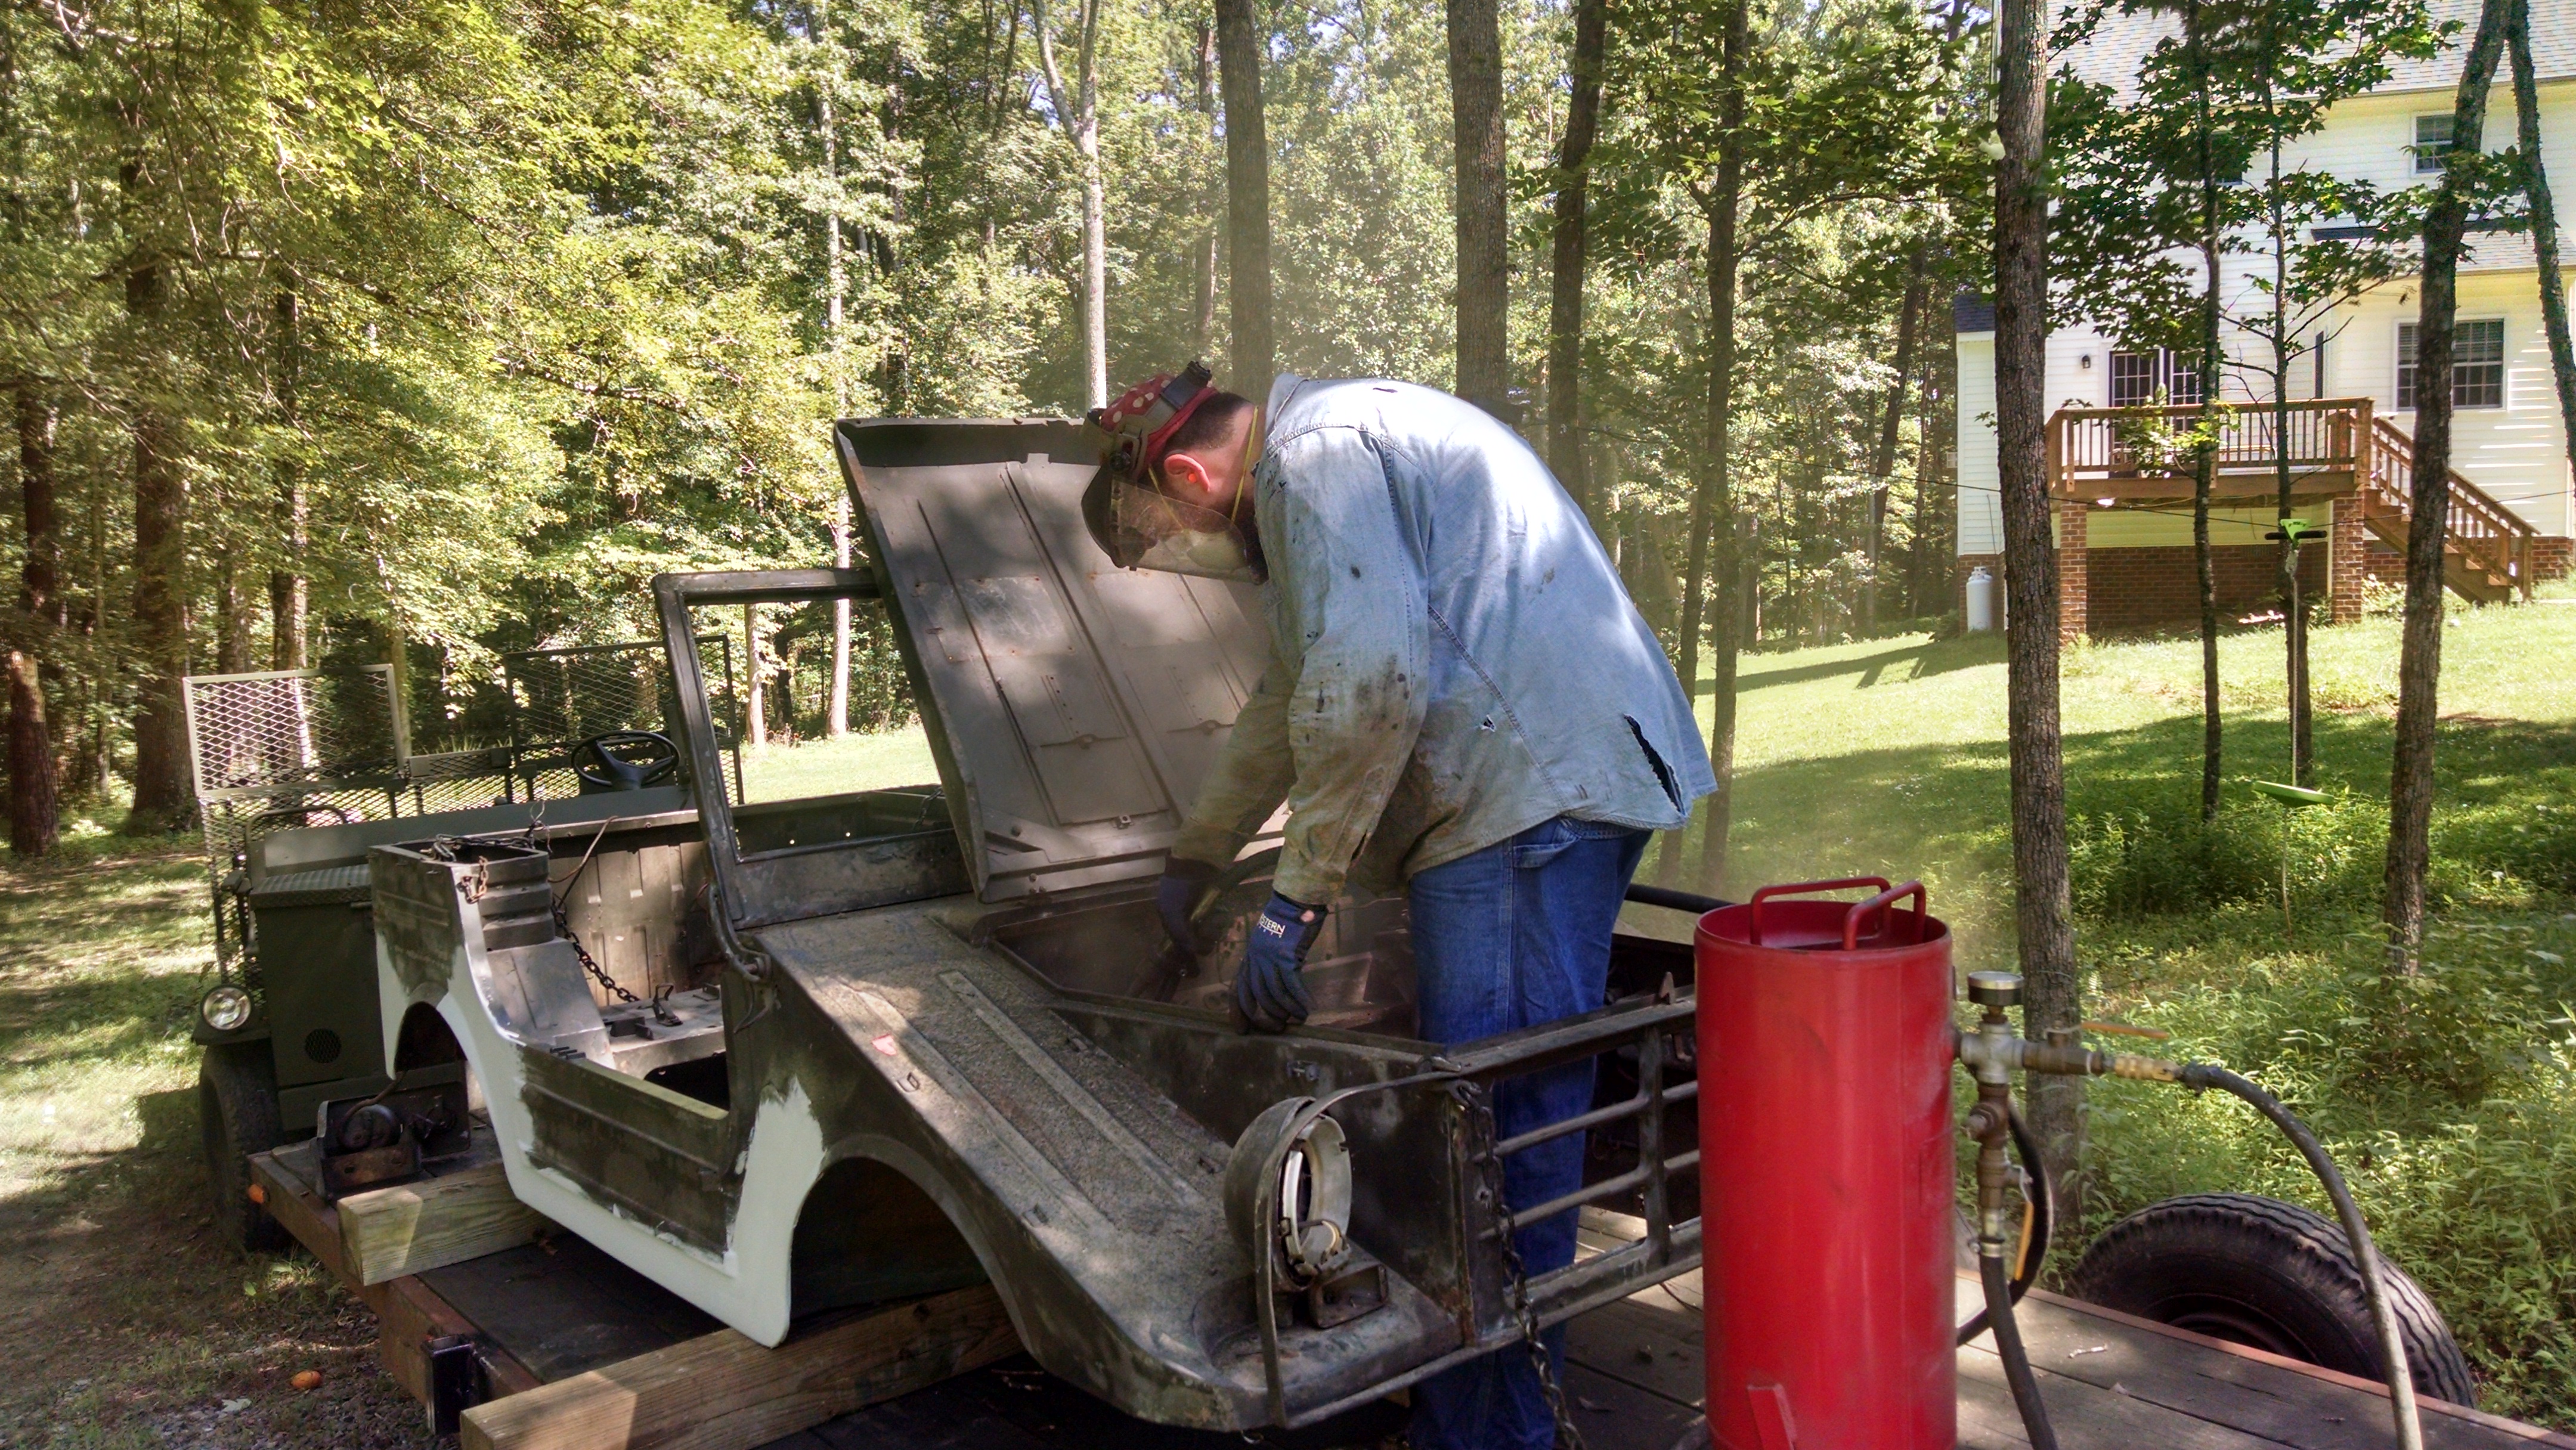
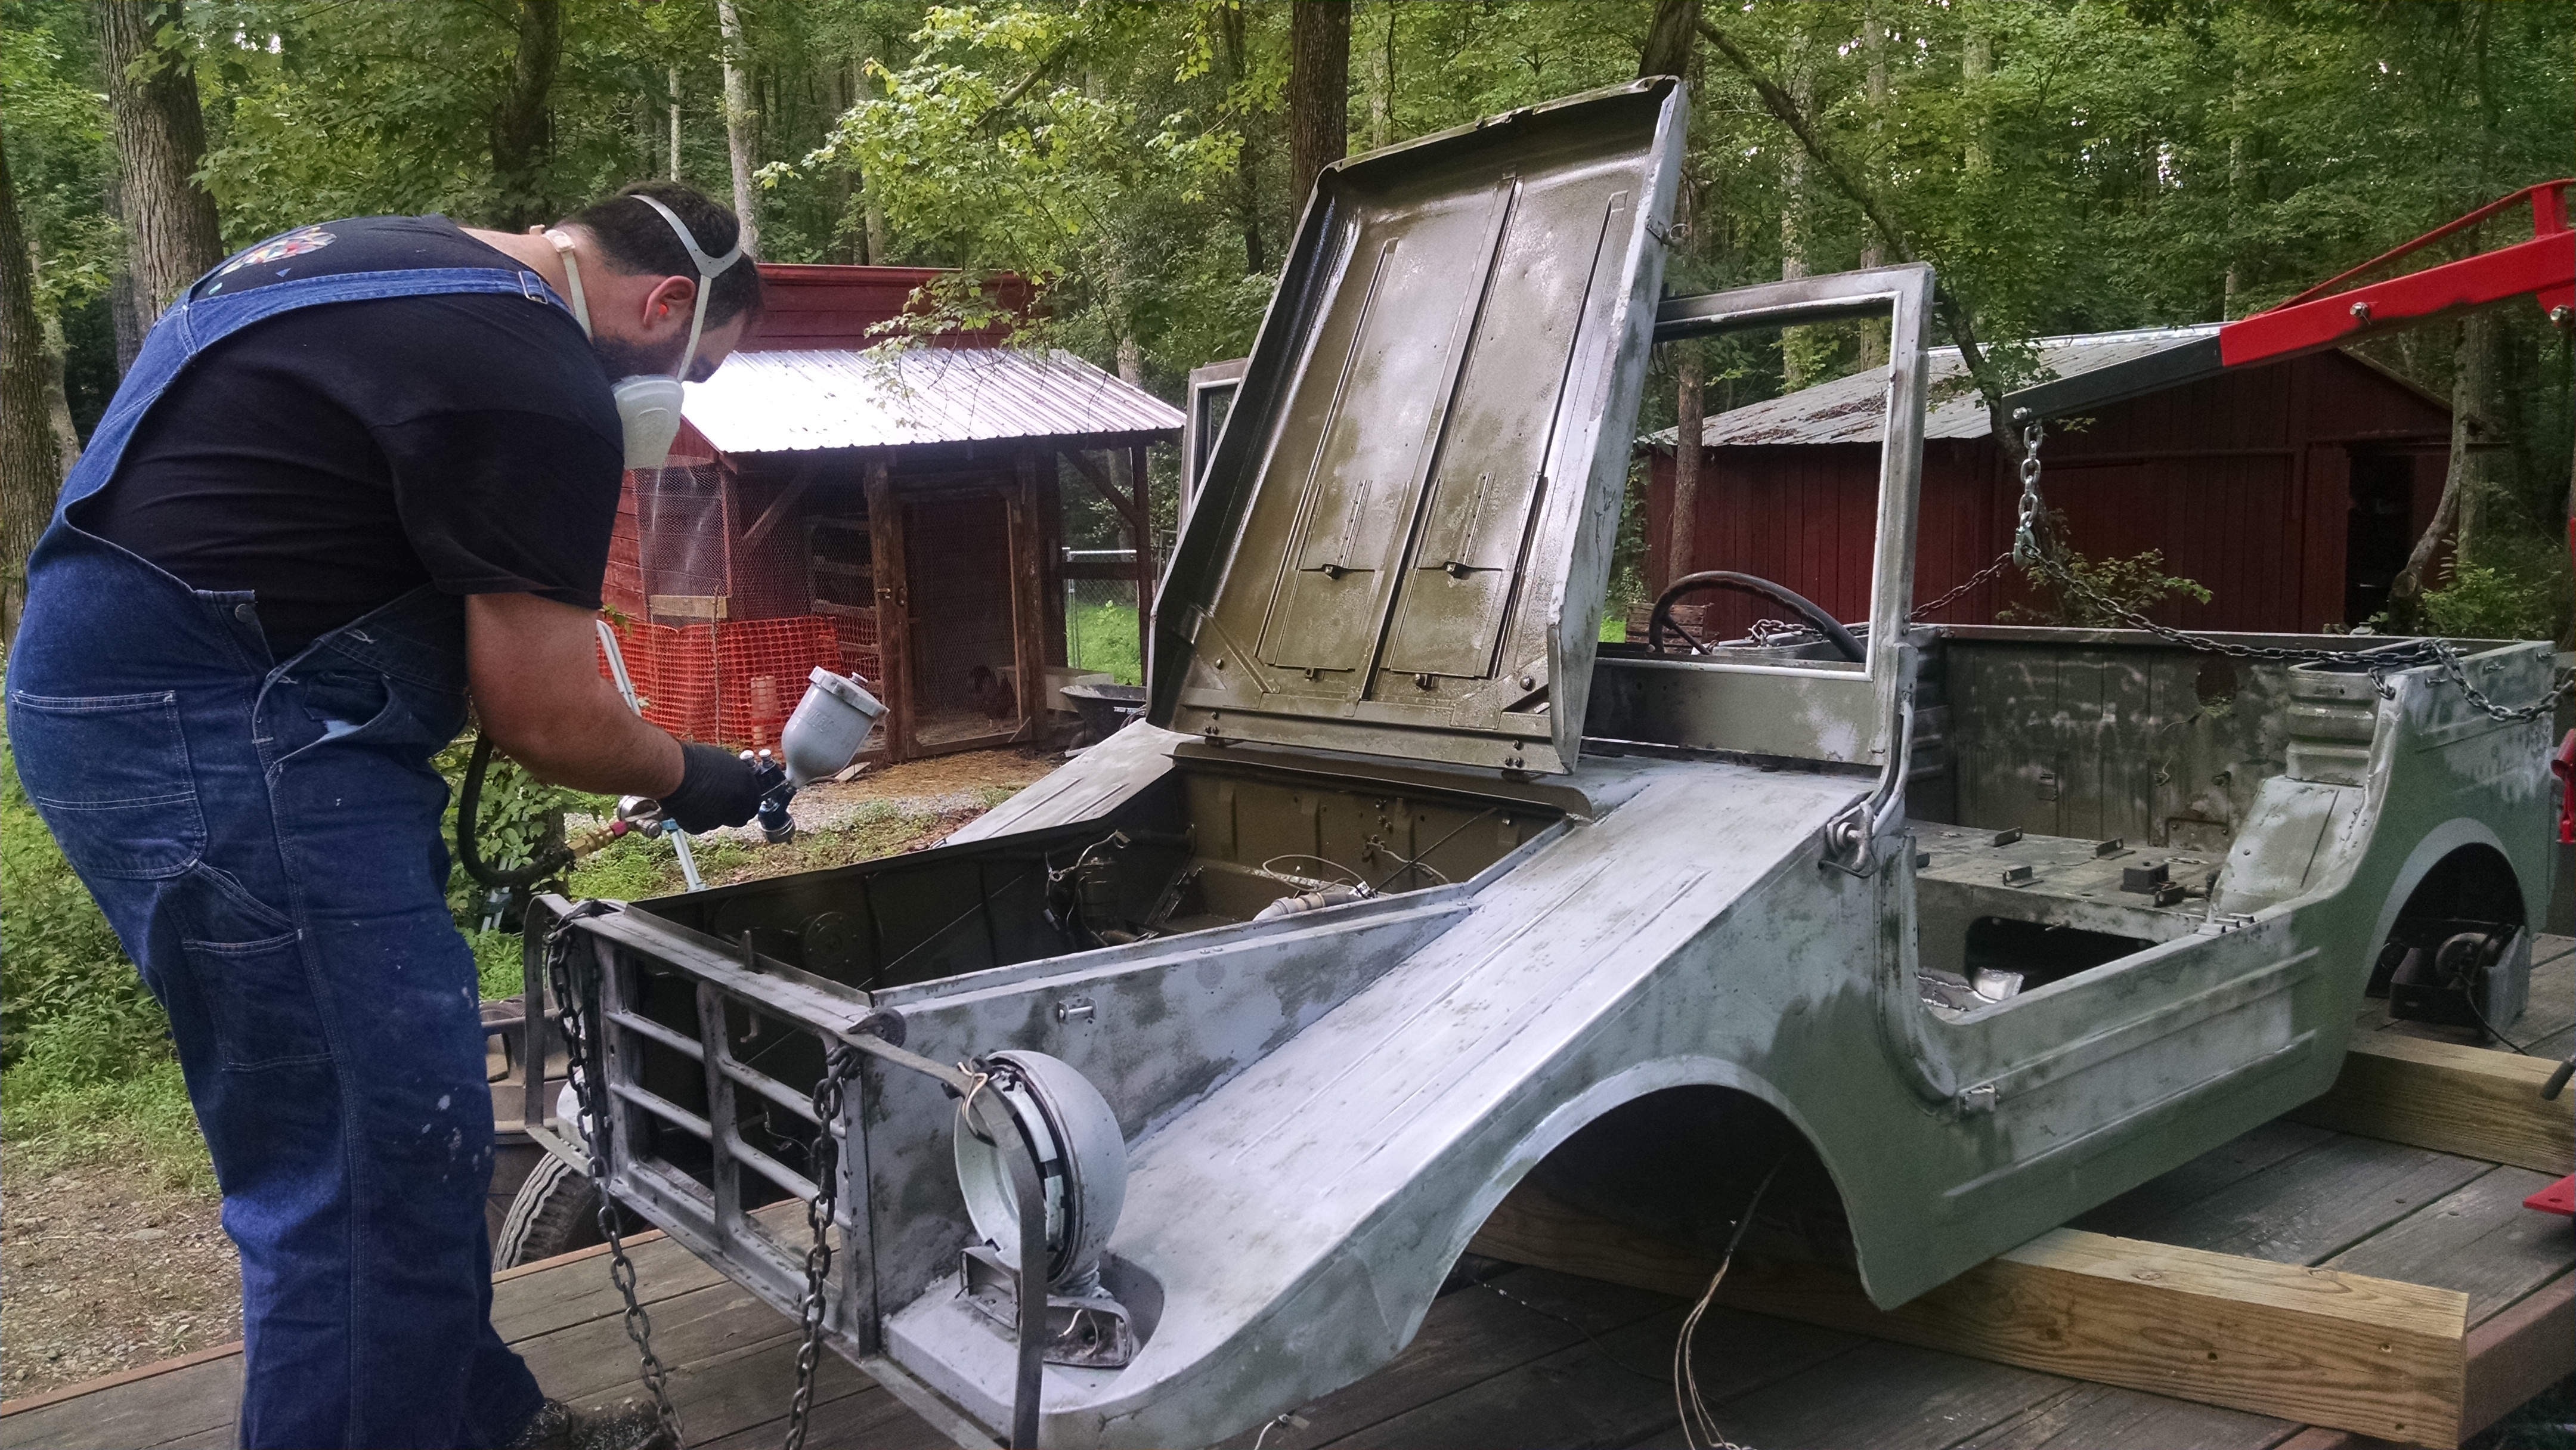
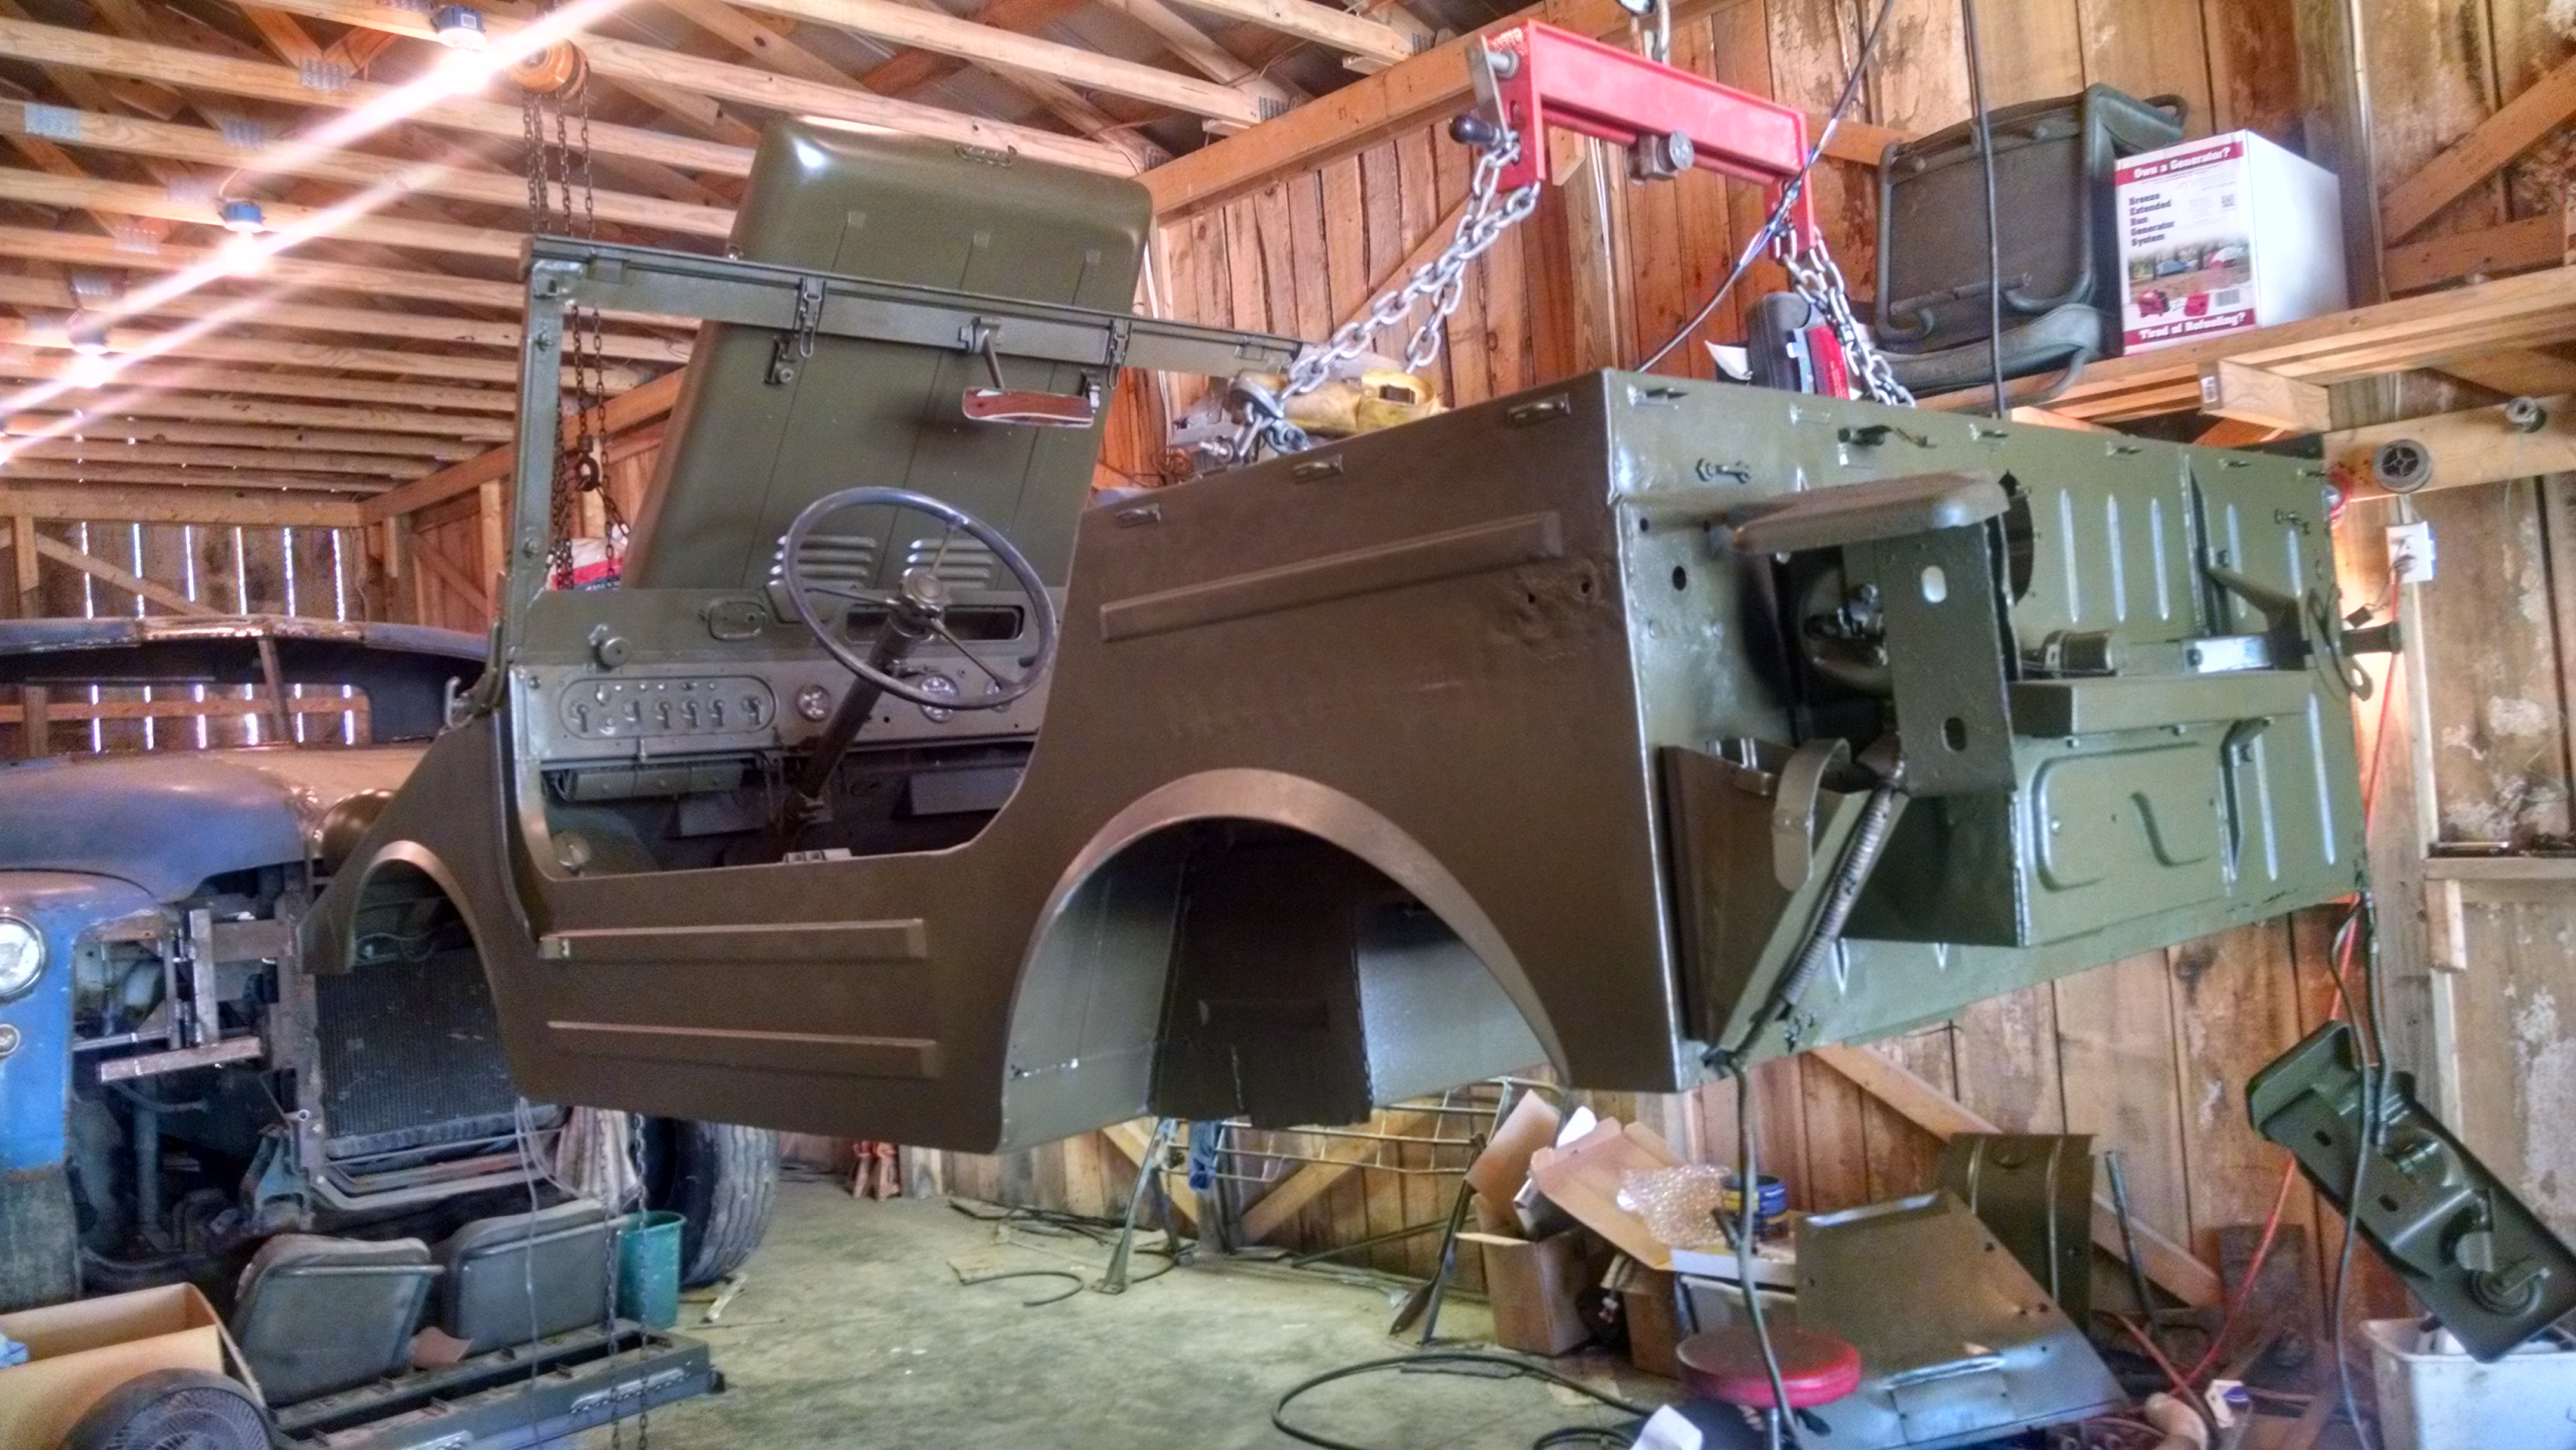
Prep and paint
This build was full of twists and turns, and finding paint was no different. RAL-6014 is the correct color for either the German or NATO version of the Munga. It’s in abundance in Europe, but not so much in the US, and you can’t ship paint (classified as HazMat) across the pond. The color can be mixed by color matching with PPG or one of the major paint providers for automotive needs, but that’s not cheap and they don’t offer a lot in drab colors. When shopping the military channels, all roads seemed to lead back to Rapco, so I gave my buddy Mark a call. Not surprisingly, RAL-6014 isn’t a popular seller in the States, and given that the smallest batch is 50 gallons, I found myself in yet another pickle, but after some testing, we found that WWII Green and Olive Drab mixed 2::1 gives a near perfect RAL-6014 match. With a few gallons coming my way, we were one step closer to success, but we all know that good prep makes for good paint.
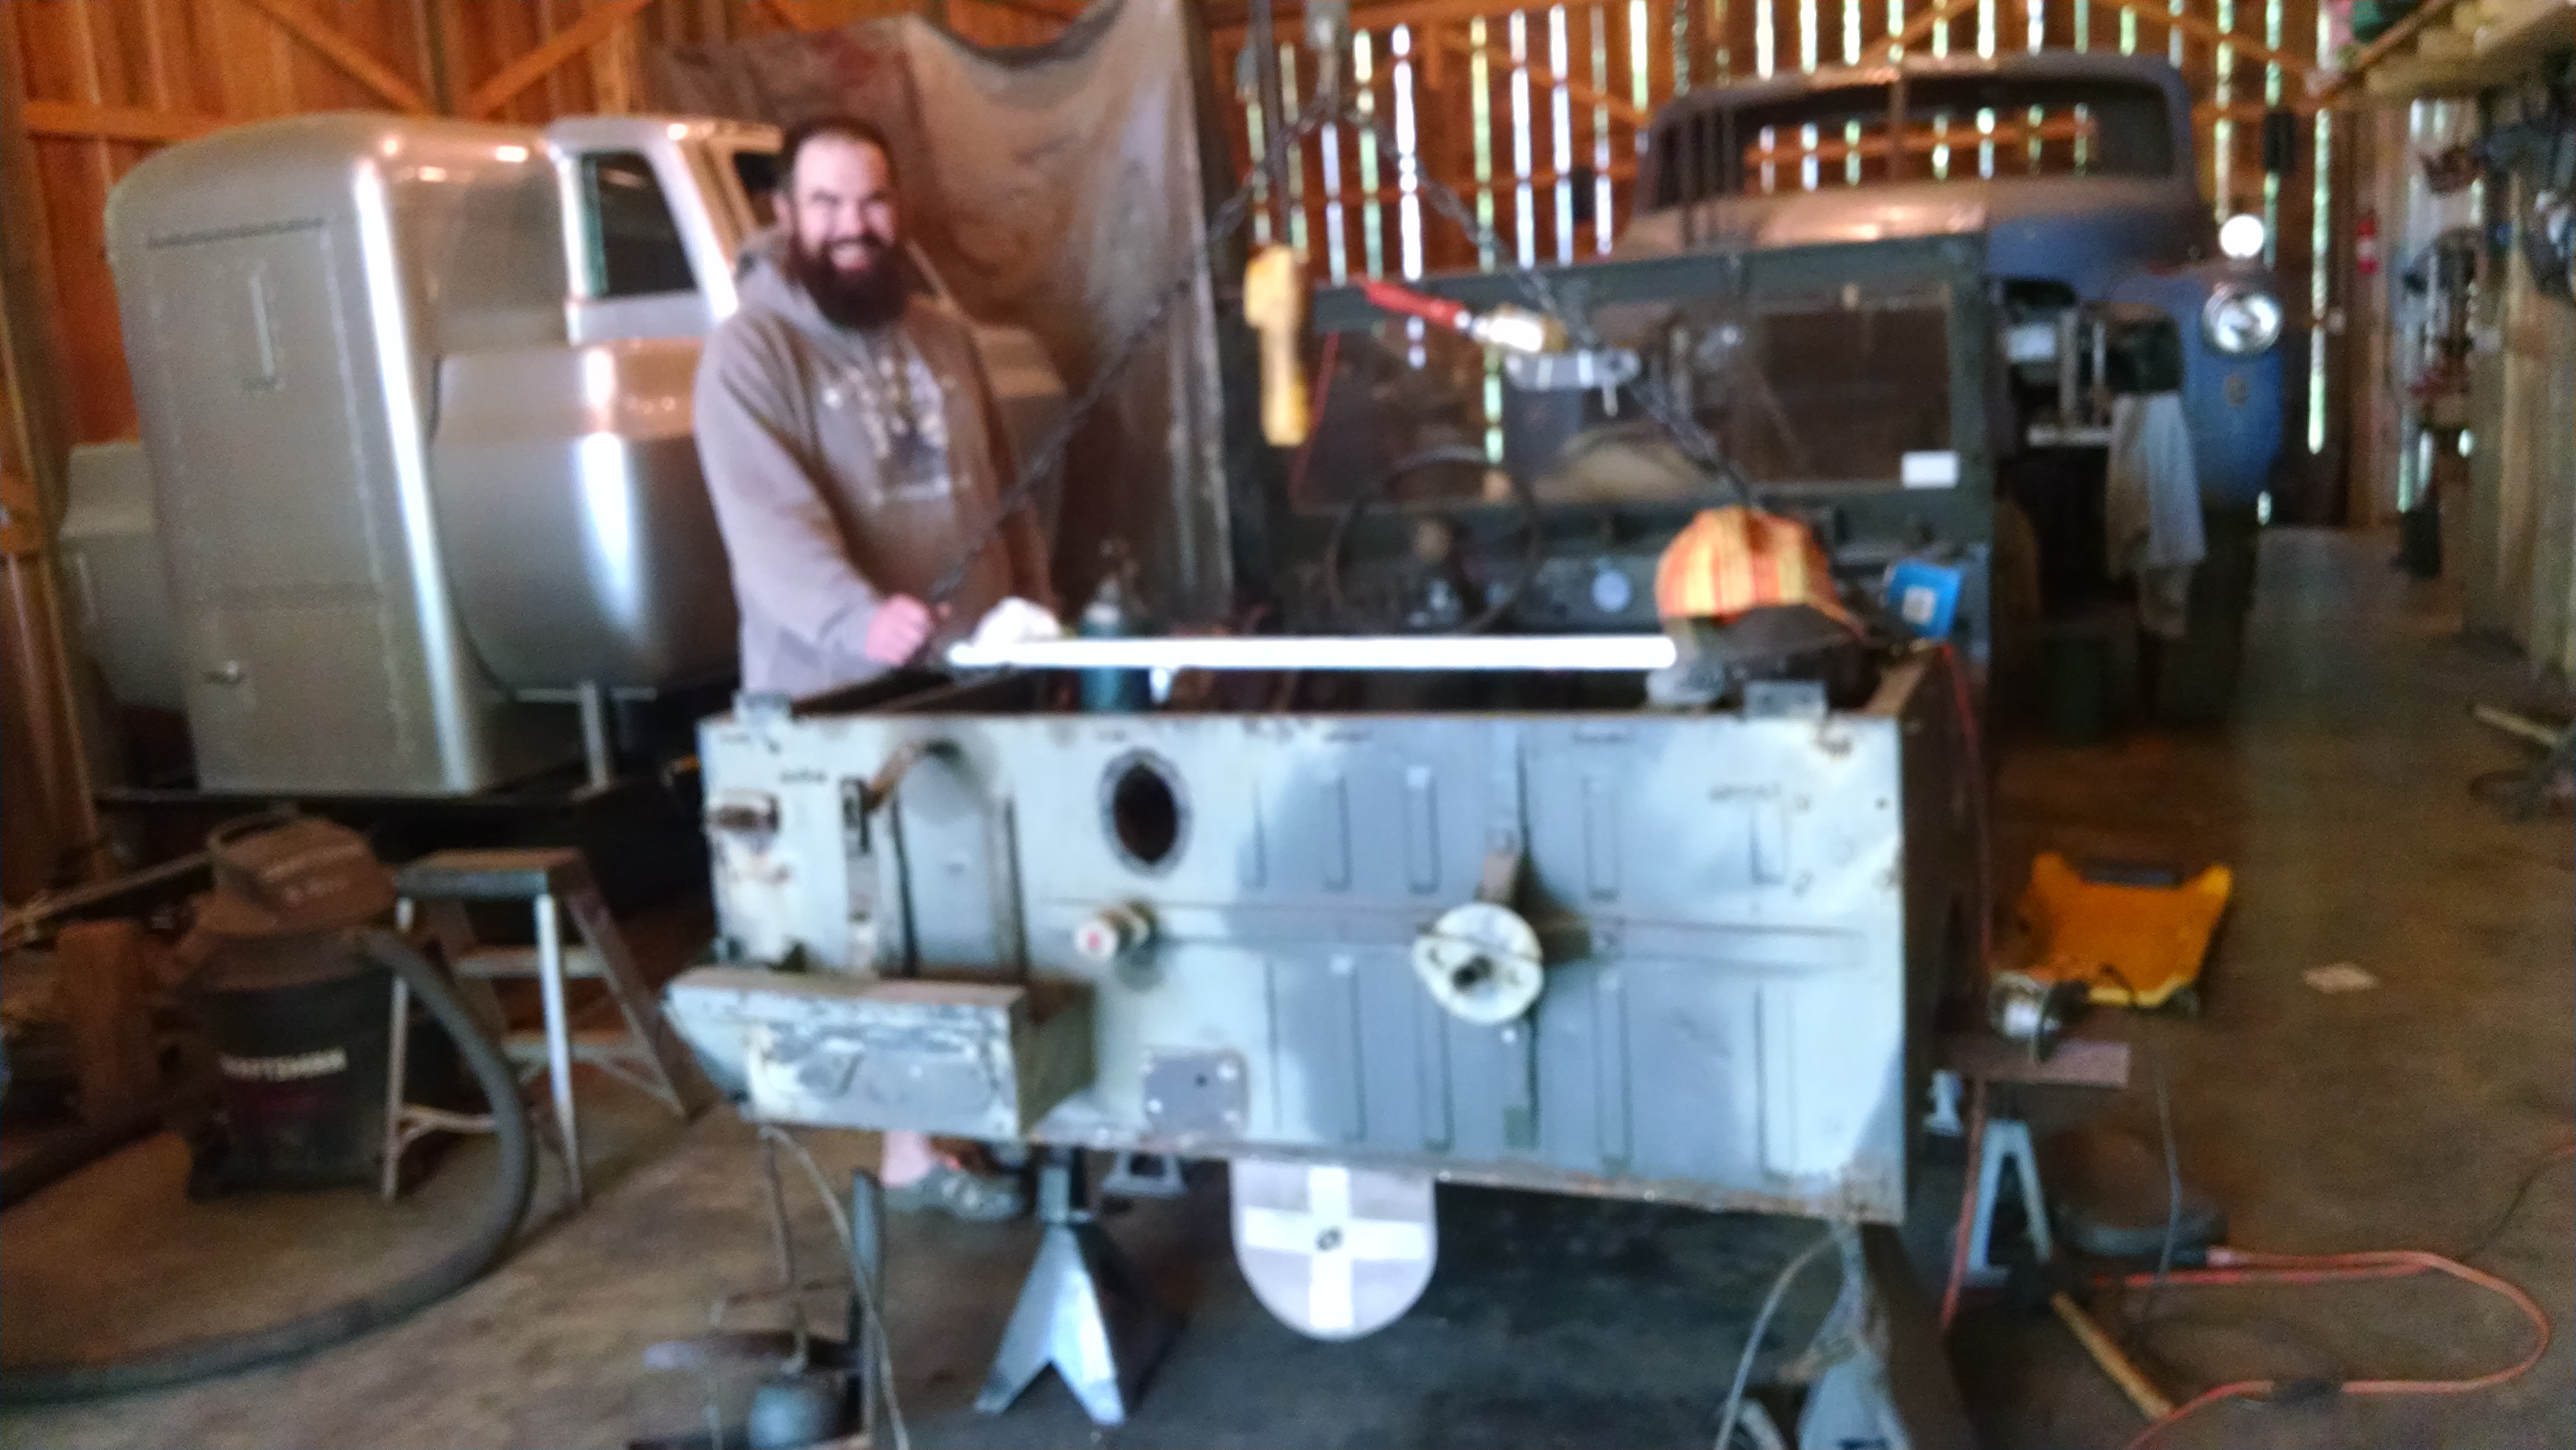
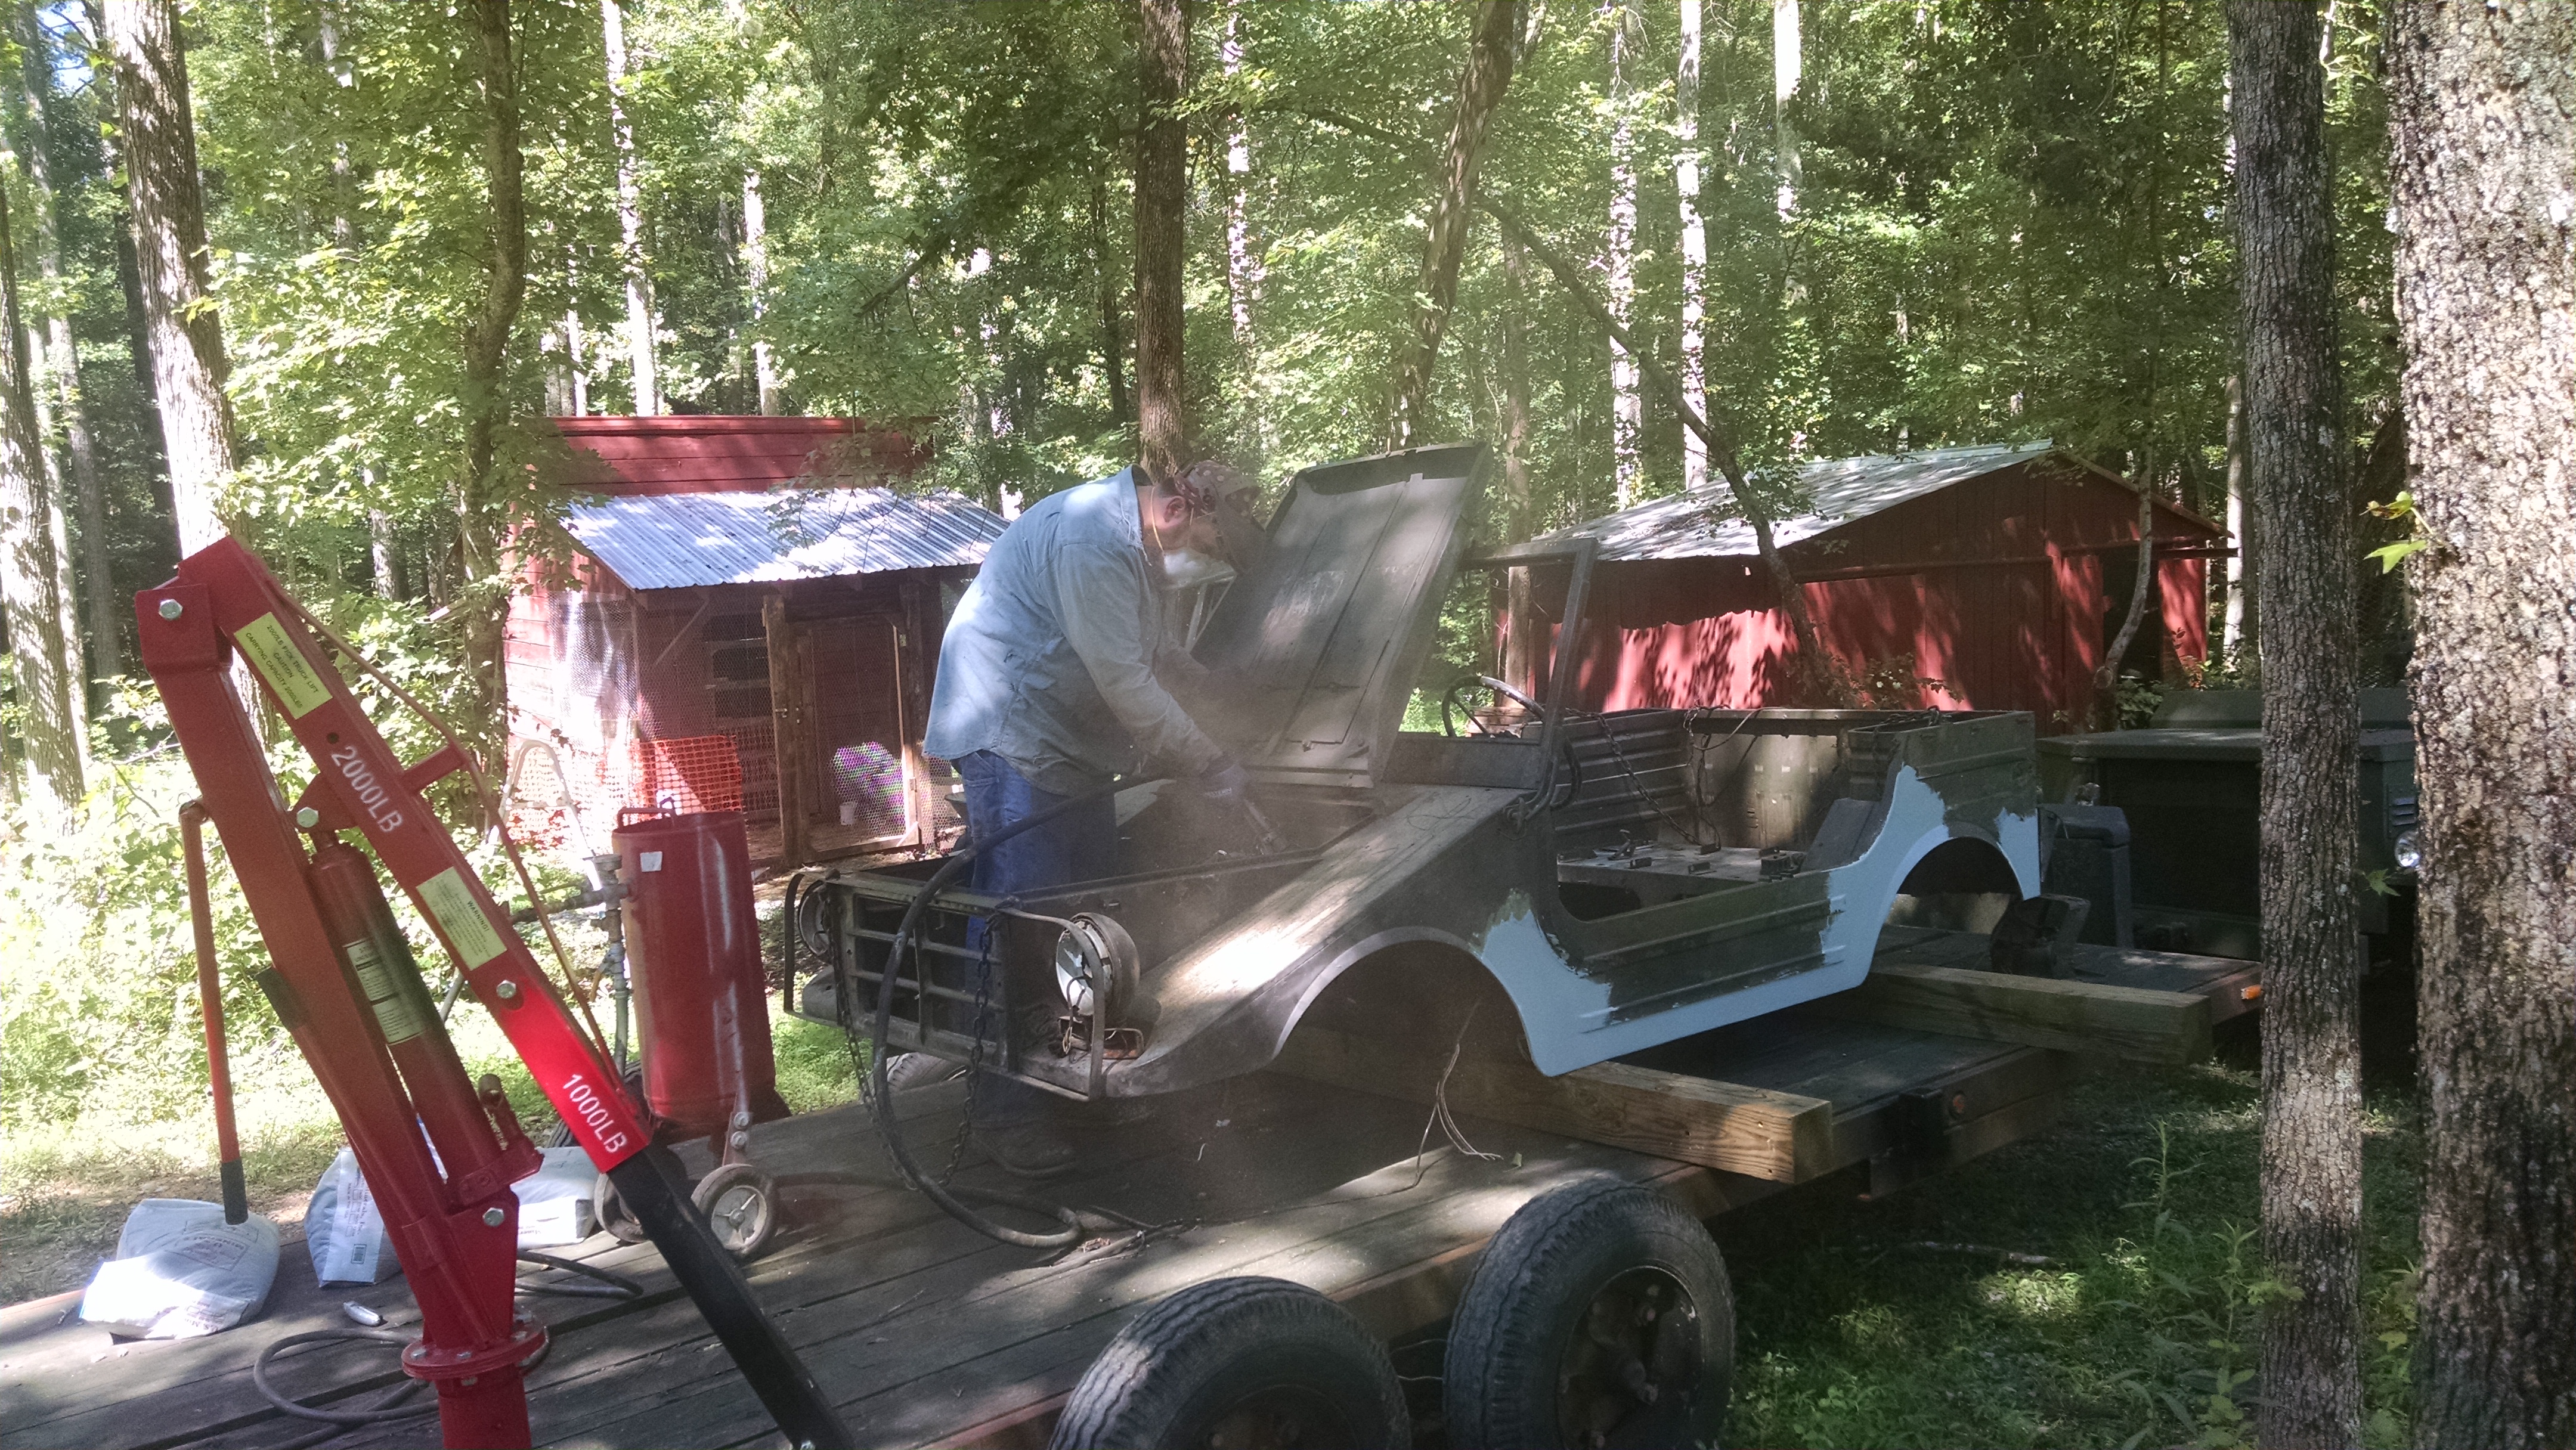
You may recall I mentioned that big shelf (car trailer) with the hoist? Well as it turns out, it worked perfectly to lift the body up for sandblasting and paint. With all other prep complete in advance, I was able to do the all the sandblasting and paint on a sunny Saturday in June. It makes for a long day, but covering that bare steel immediately is critical to avoid flash-rusting. With the body looking like a gem, the next challenge was the chassis.
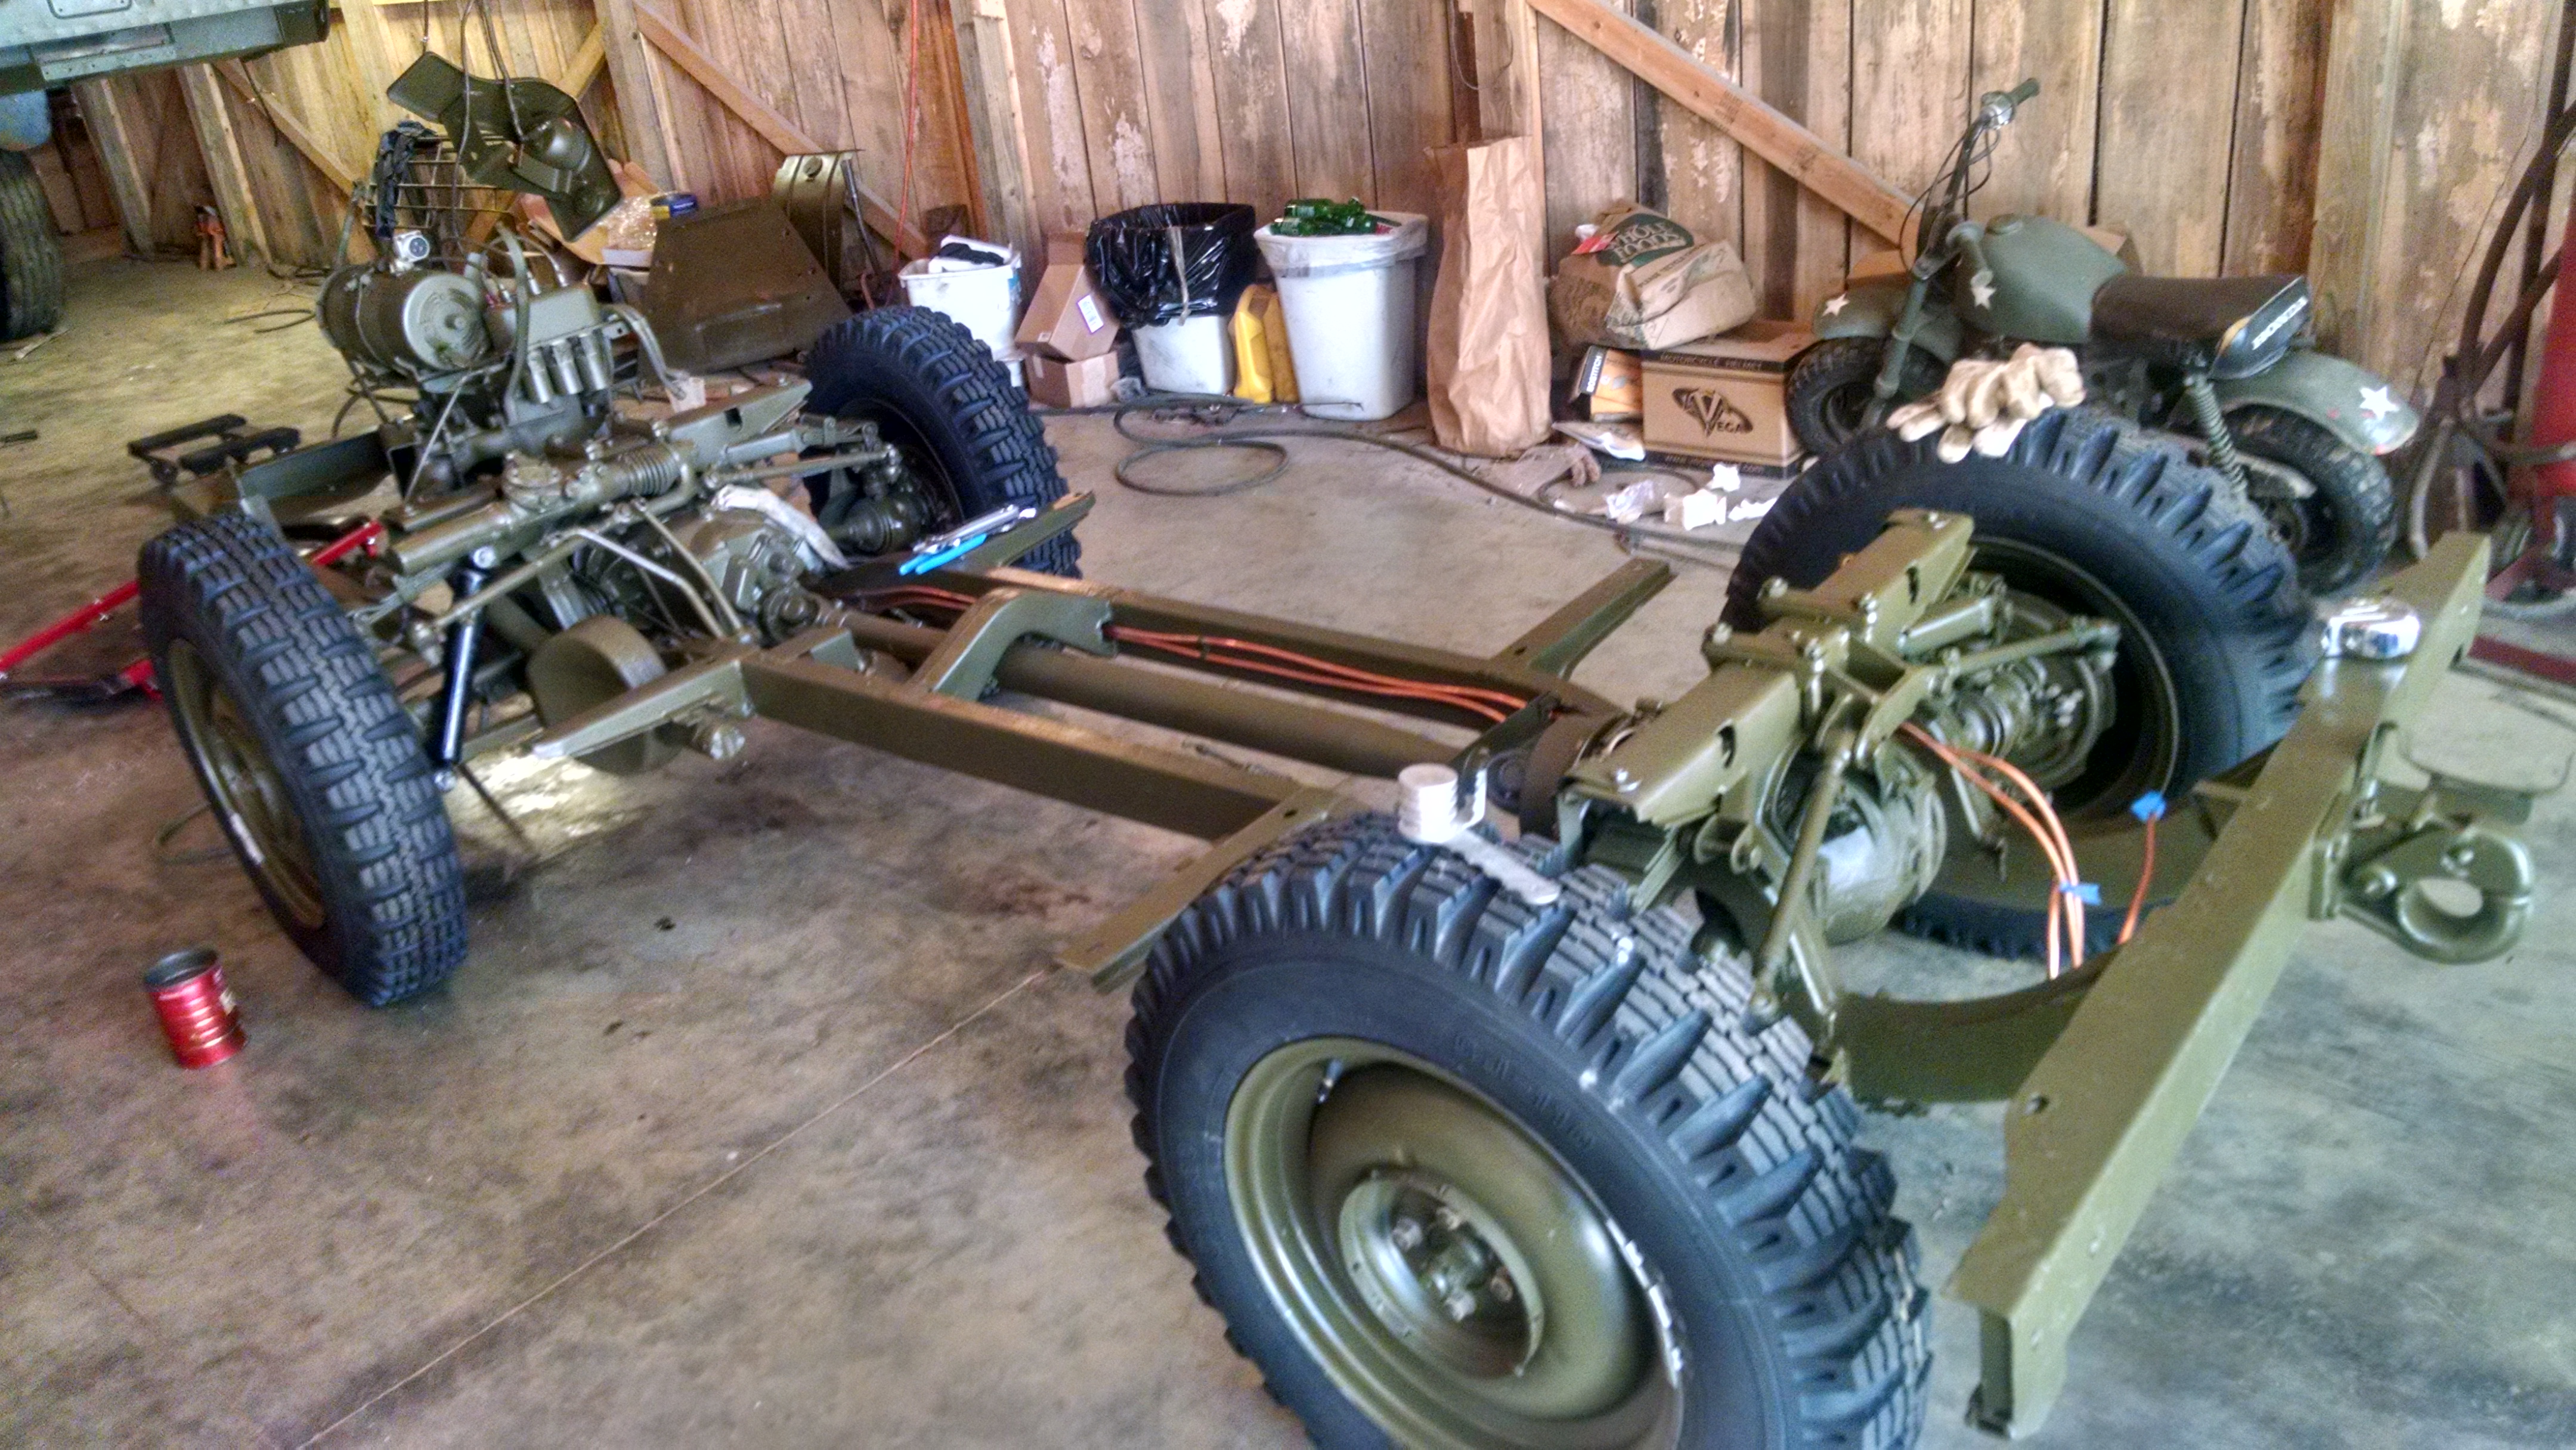
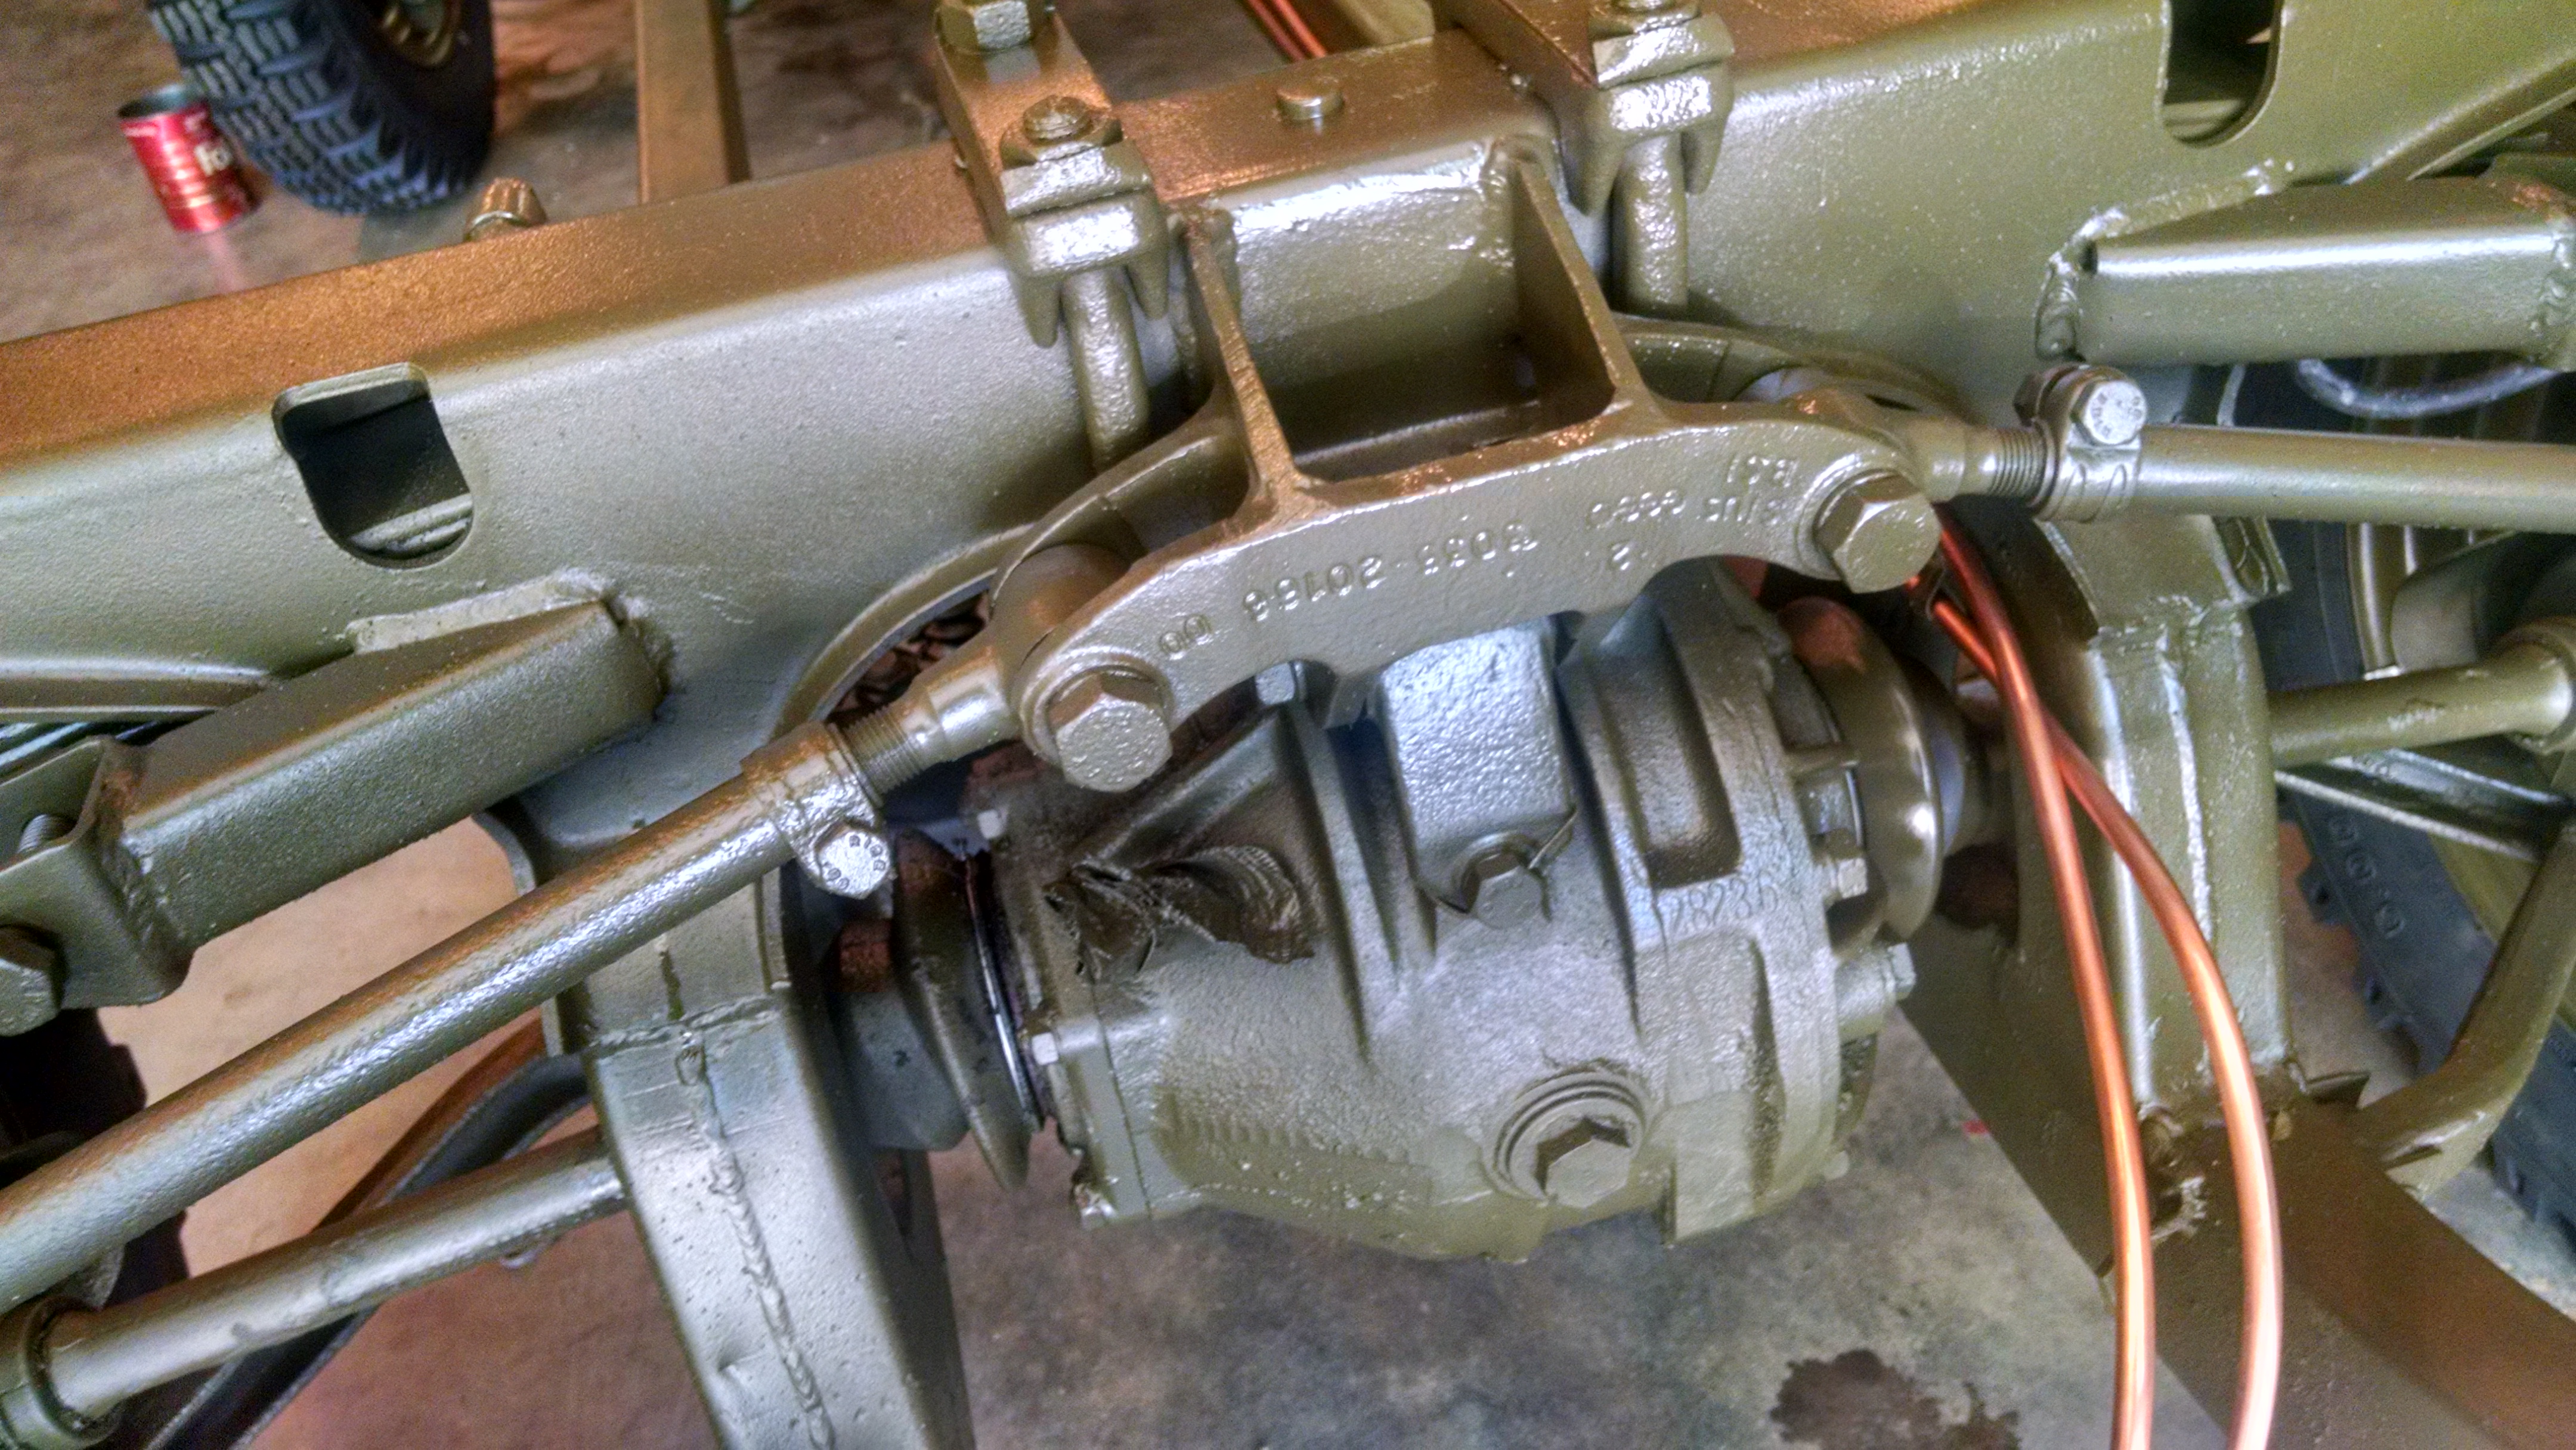
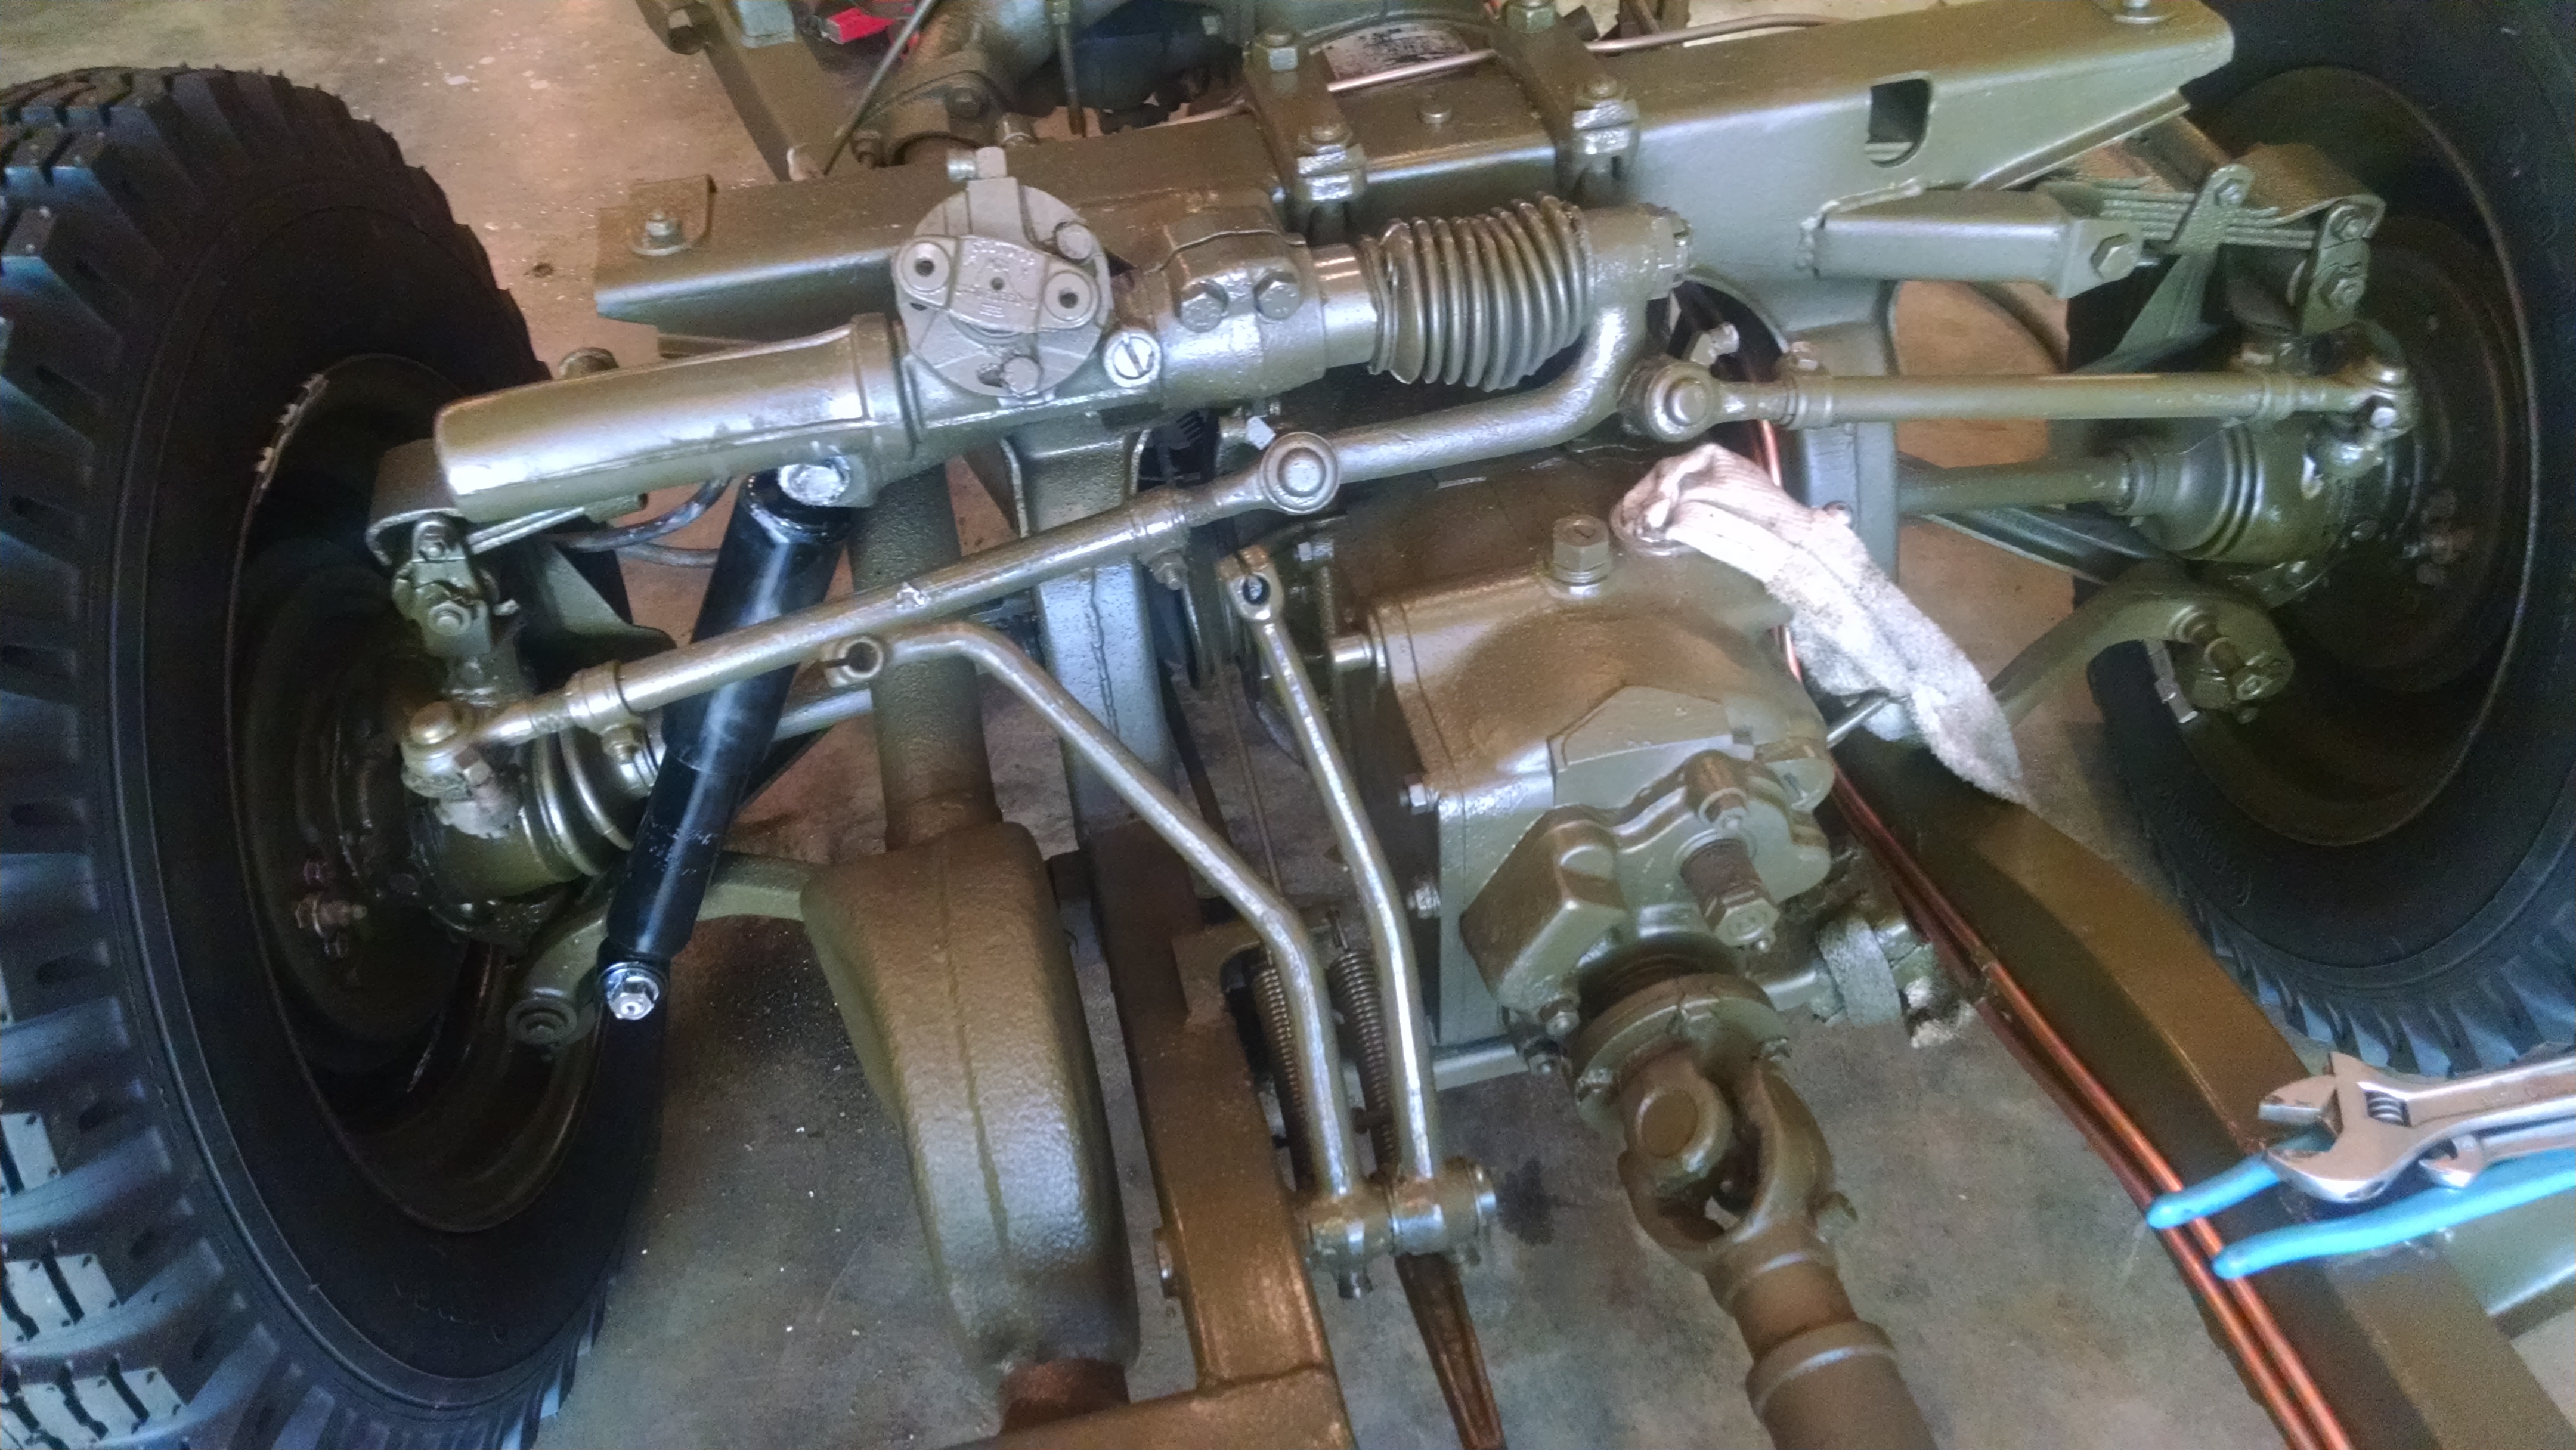
A strong foundation
Remember when I mentioned that the Munga was the best of both the M38 and the M151? I mean no disrespect to the American Industrial Engine that helped win the war, but when looking at it from a mechanical perspective, it’s not far from the truth. In fact, the Munga was tested by the US Army, but was beat out by the M151. I’ve never found why, but I suspect the two-cycle engine was to blame.
Like the M38, the Munga has a full frame; in fact, it’s a much stronger and lighter frame, being fully boxed and sealed the whole length. But what about the ground clearance that the independent suspension offers with the Mutt (M151)? Turns out, the Munga uses a buggy spring design (like a Model T or many generations of Corvettes) to also offer independent suspension and a full 12 inches of ground clearance. Couple that with low range (which the M151 lacks), a four-speed transmission, and skid-plates front to rear, the Munga is a true contender. But in its state when I started, the old Munga was in no shape to compete. . .yet.
I started by replacing all rubber components, and cleaning the heavy rust with a needle scaler as I went. I followed that up with a good standblasting, and paint to match the body. The icing on the cake was all new brake components, seals, fuel lines, and the correct NATO treaded tires … including the spare!
The debut
Starting its life in Germany in May of 1957, this Munga served as a NATO Staff Car; at some point, making it across the Atlantic to the US Army. Rumor has it that it was purchased at military auction in Norfolk, VA by its first private owner. It then traded hands, eventually landing where I found it. Having not moved in decades, I brought it home in October of 2016, and started the restoration exactly 60 years after its birthday in May of 2017. Its first event following the rebuild was that August at Grave’s Mountain Lodge in Syria, VA; a military and jeep rally. Having put only seven miles on it the previous Saturday, we took straight to the hills. Not surprisingly, some “fine tuning” was needed, but all in all, I was thoroughly impressed with its performance. The very next Friday, the Mighty Munga found itself proudly displayed at Belhaven Country Club in Alexandra, VA, still sporting some mud from the mountains. The following day, we displayed at a 9/11 memorial event for the Travis Manion Foundation just down the road from the Country Club. With no rest in sight, the following weekend was filled with a three-day event at Field Days of the Past, just outside Richmond, VA. Our debut tour ended on November 4th, at the annual Trucks and Tanks event hosted by the Virginia Military Vehicle Association; of which, I am a proud member.
Having not moved in decades, to being rebuilt in less than four months, and then to hit five events in nearly consecutive weekends – wow, what an honor to be able to display this little Munga in memory of all those who served our fine country.